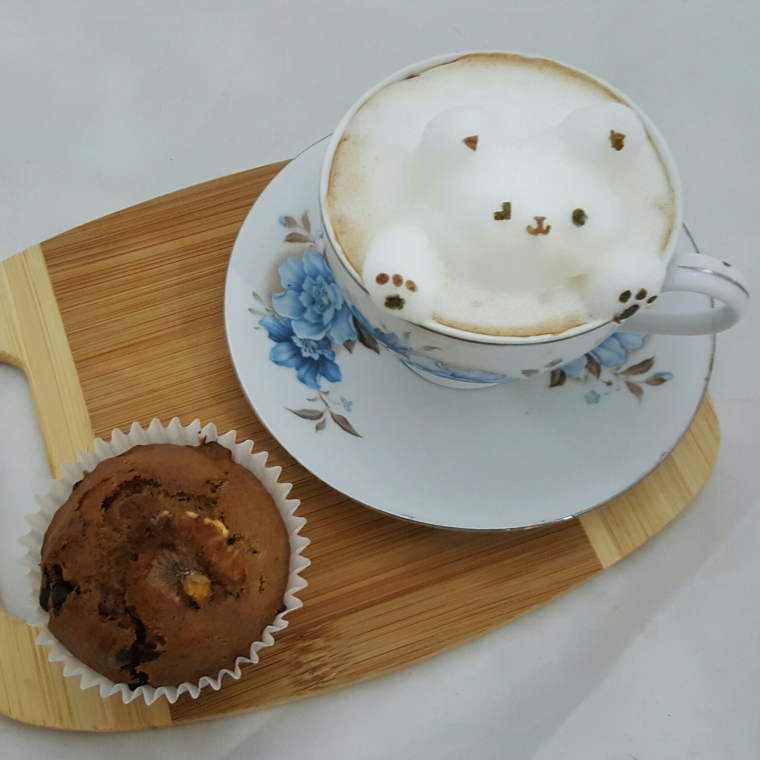
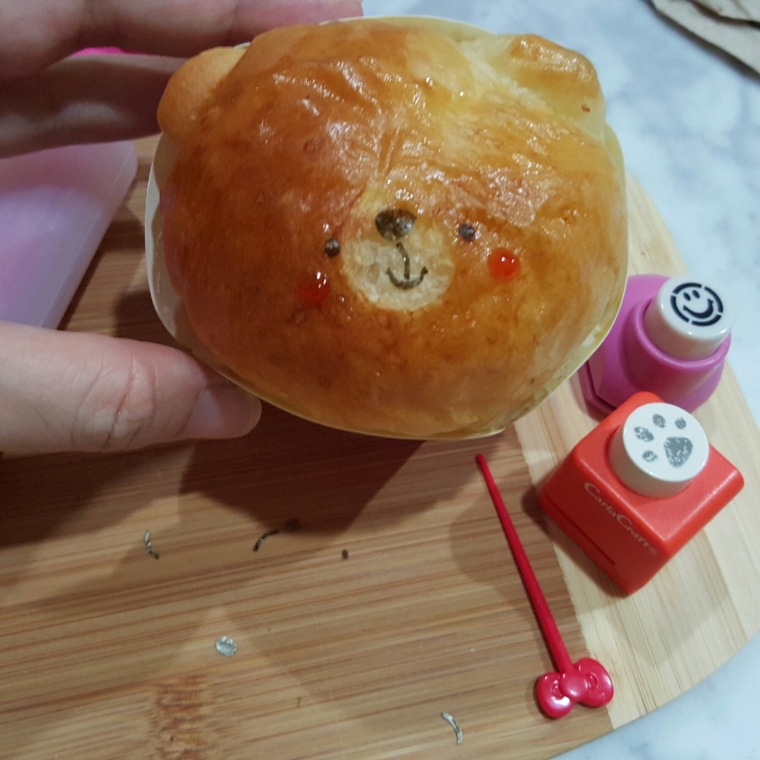
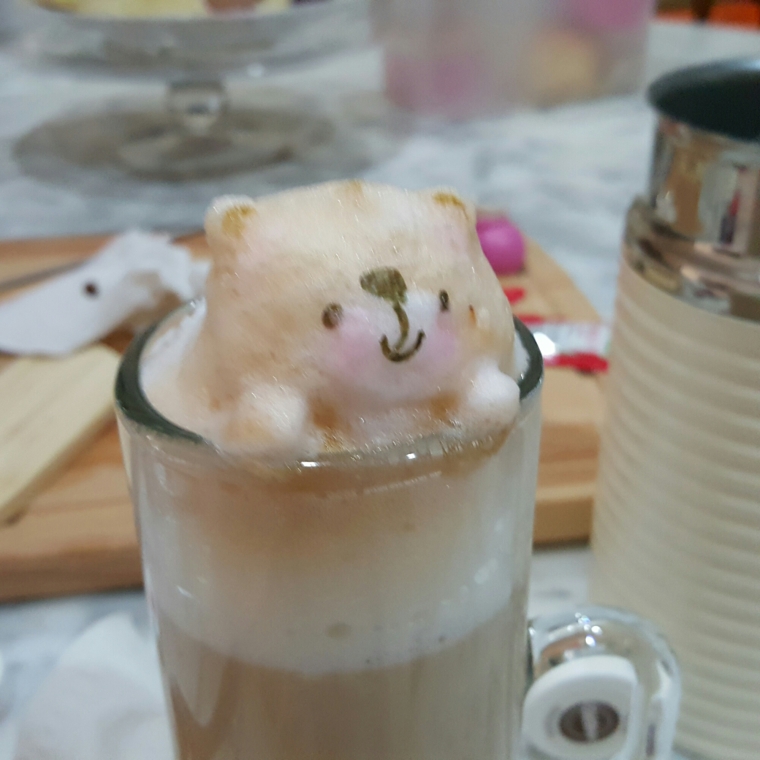
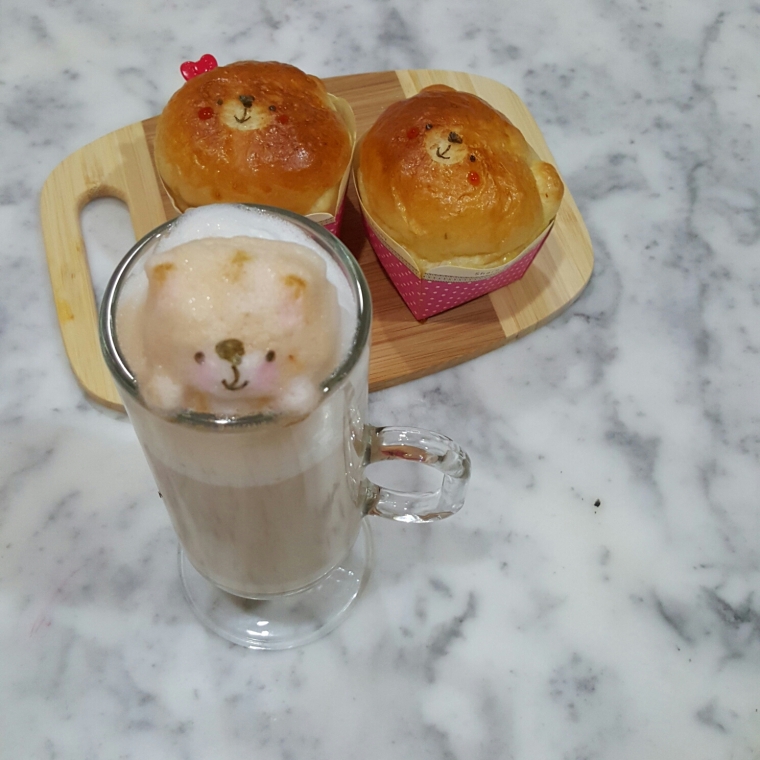
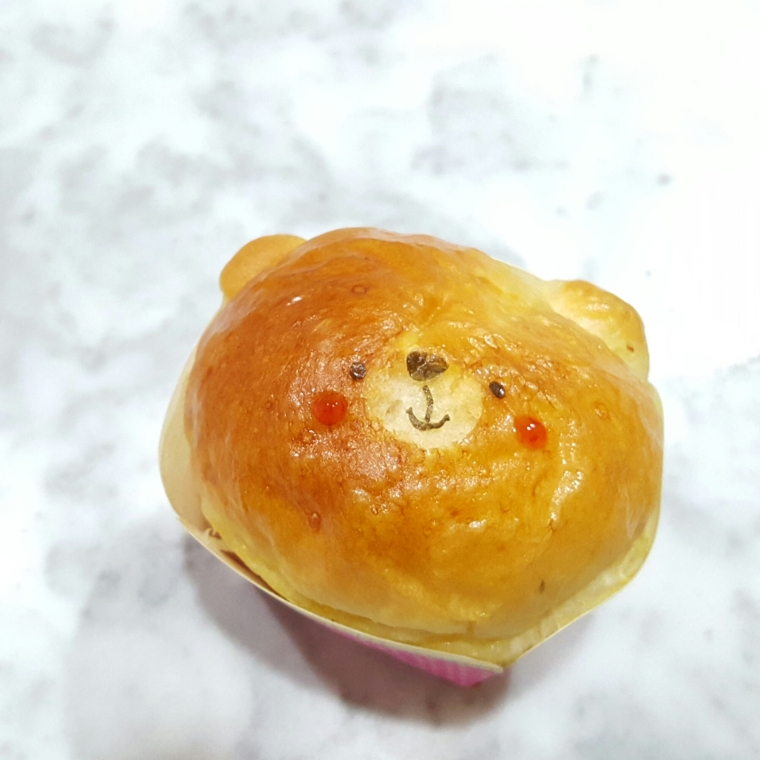
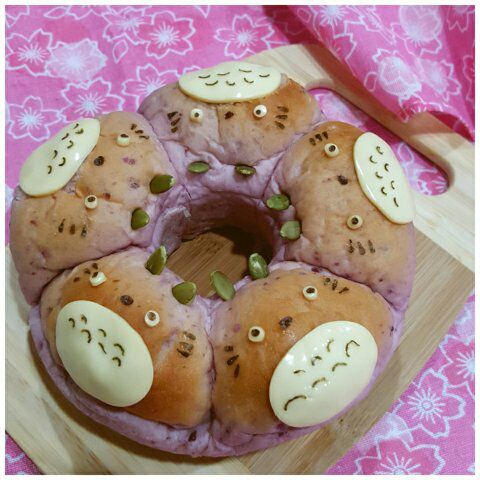
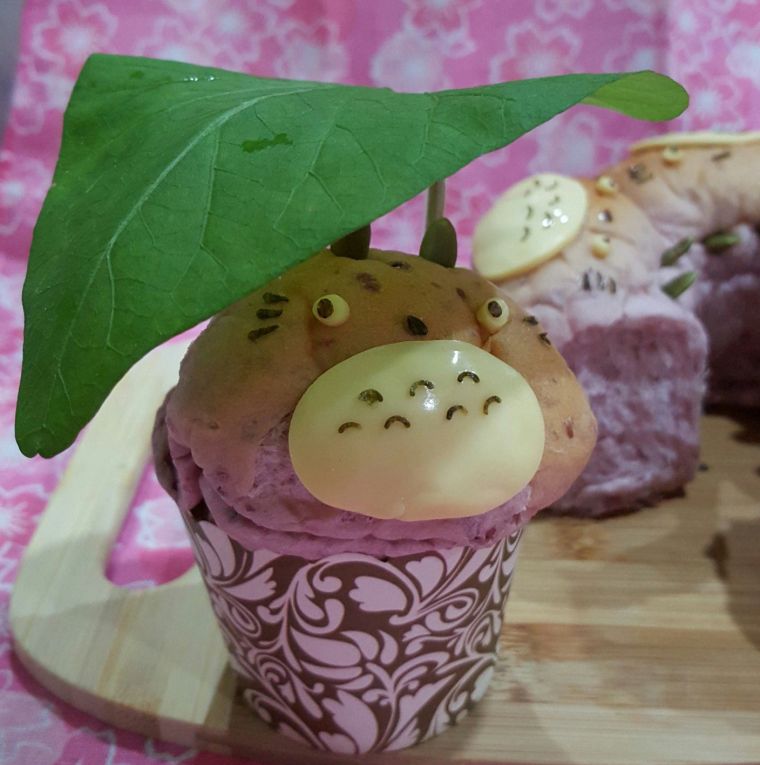
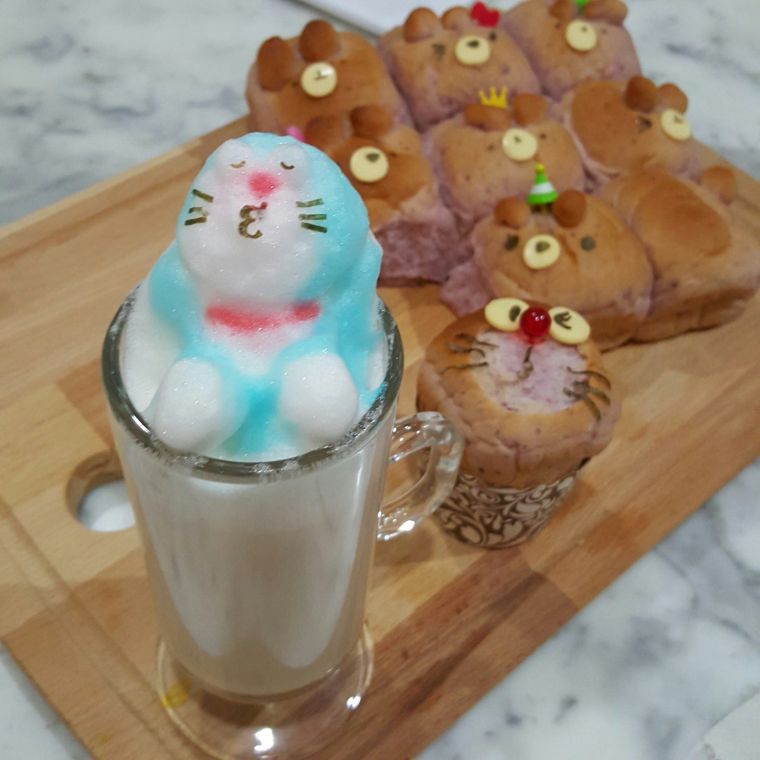
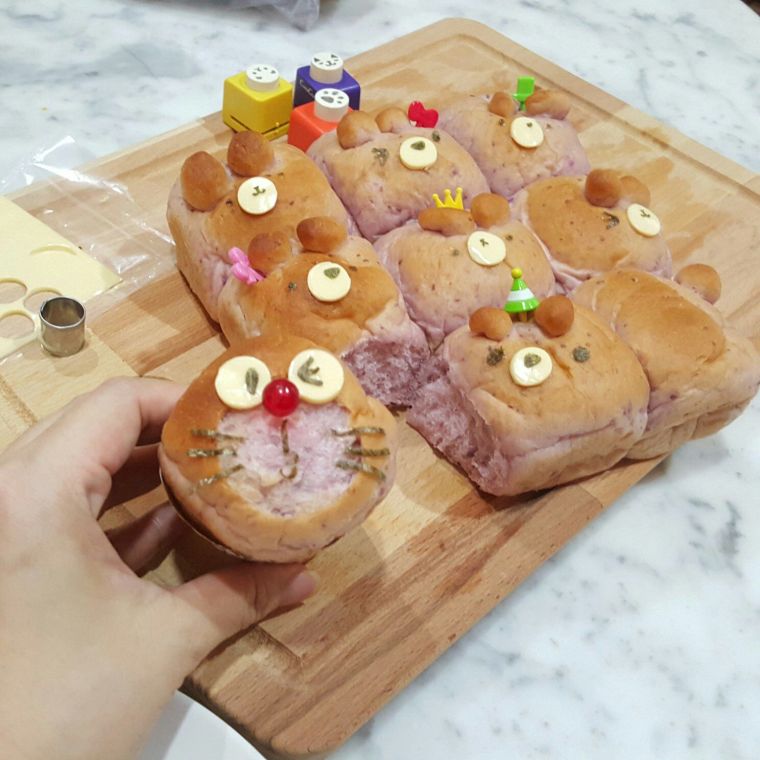
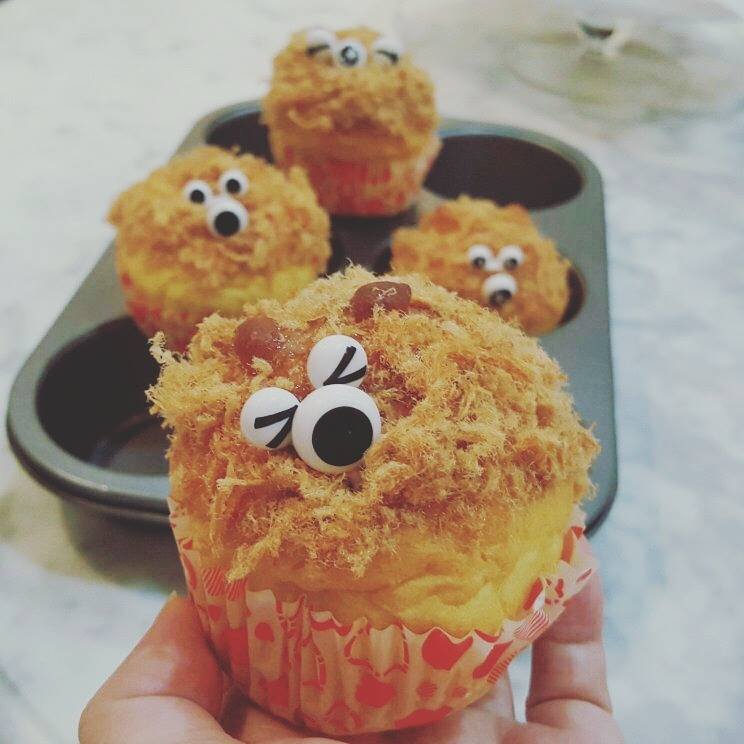
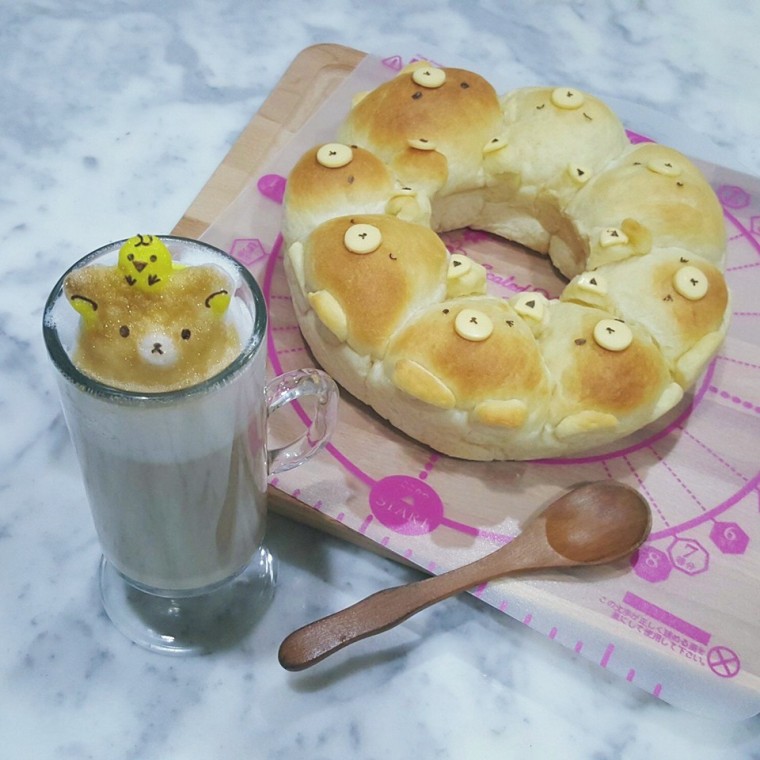
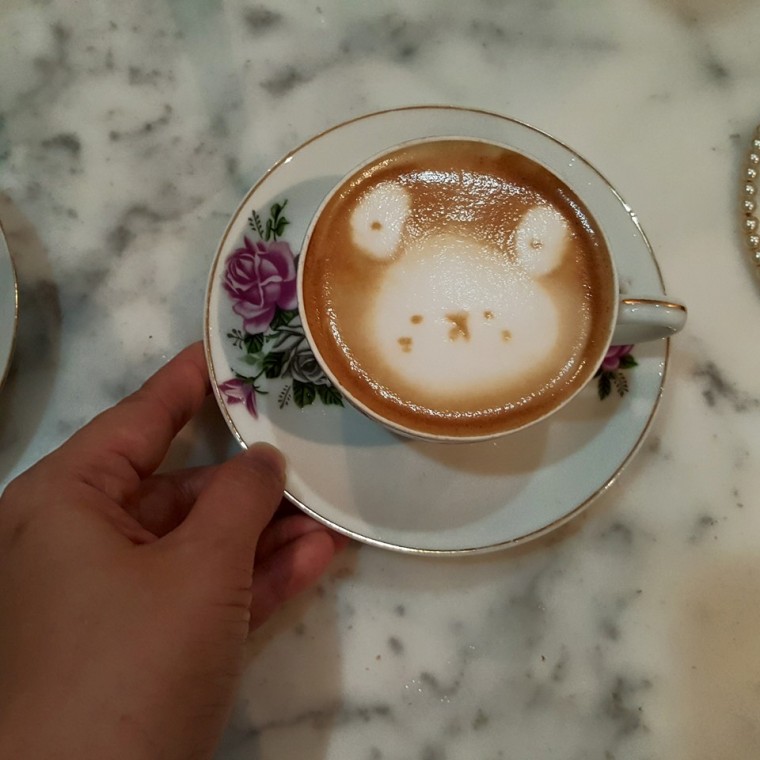
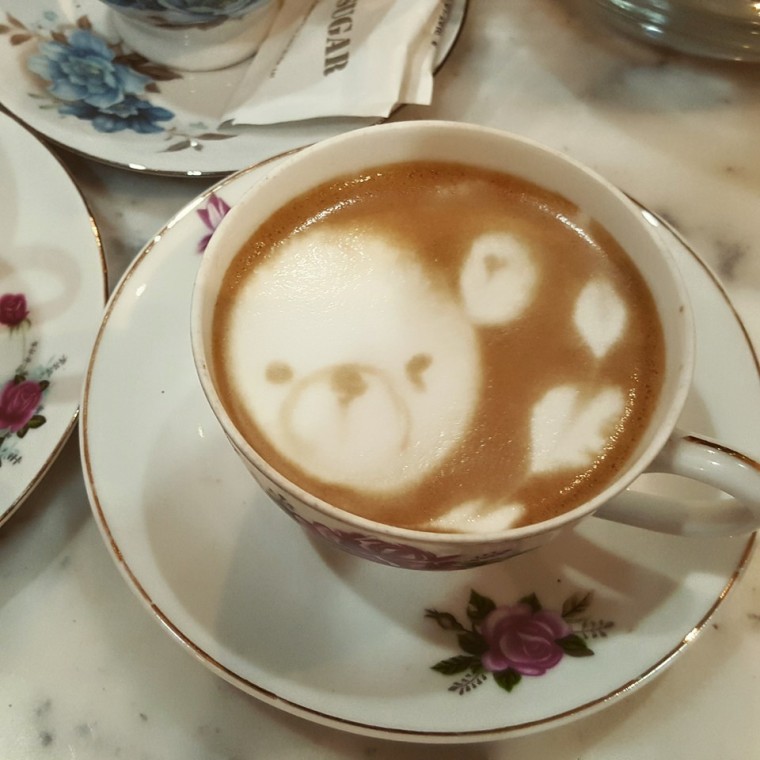
Beary sweet potato buns

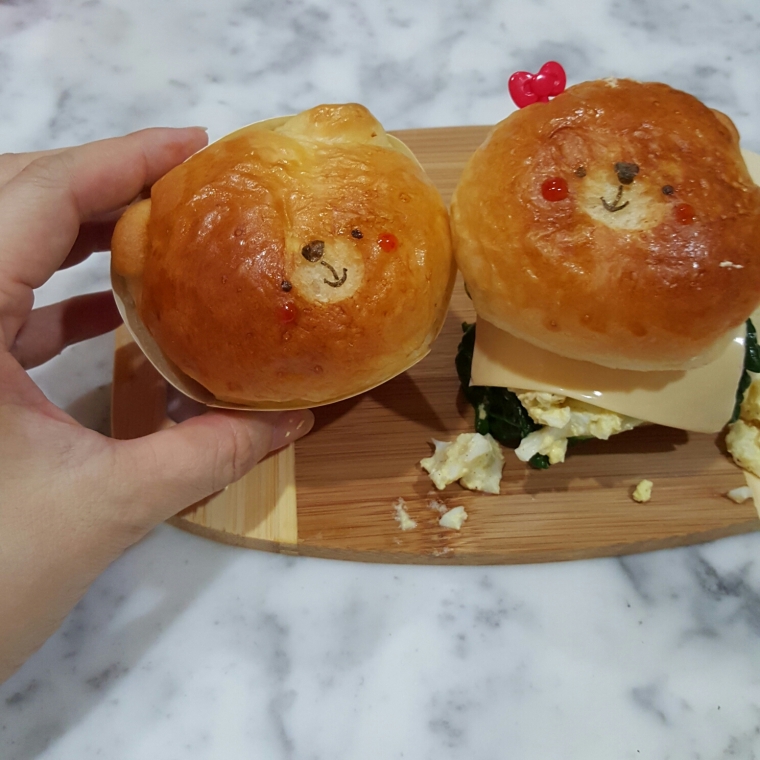
Made some buns yesterday night for brekkie.

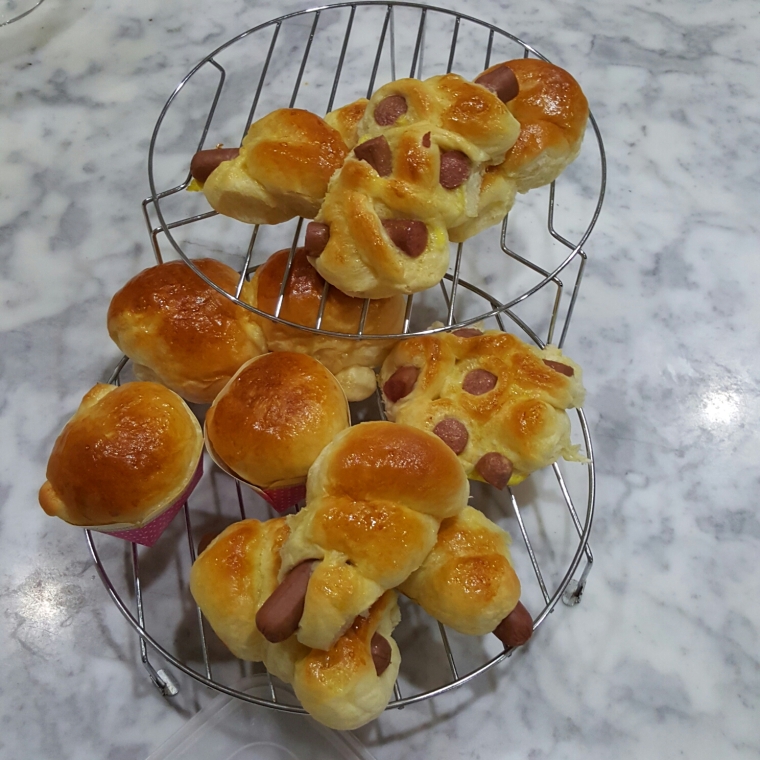
Kosong buns for hamburgers.

Cant get this song out of my head..

.. i have a bear,

I have a bun,

Urgh..

A bear bun..

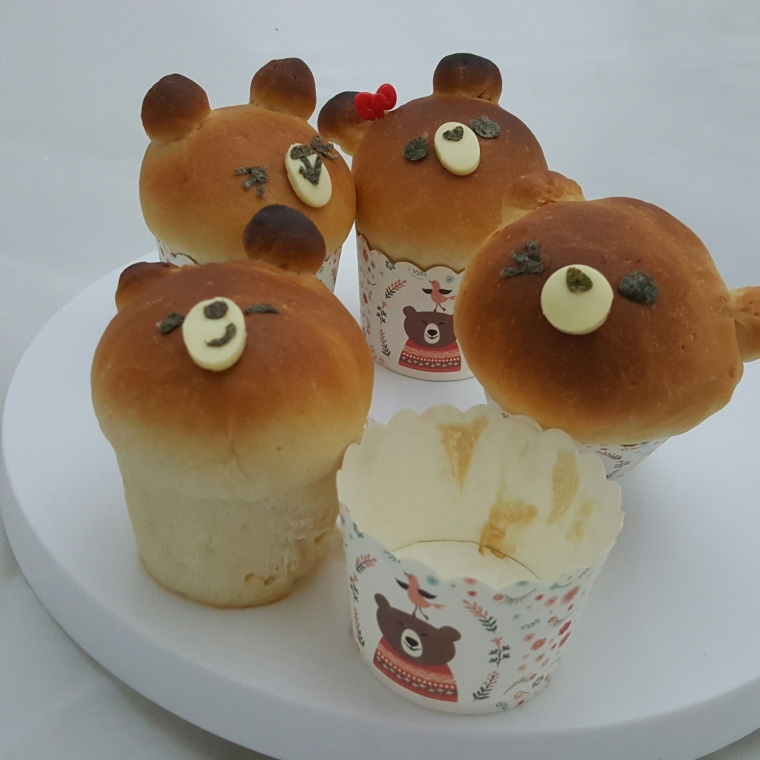
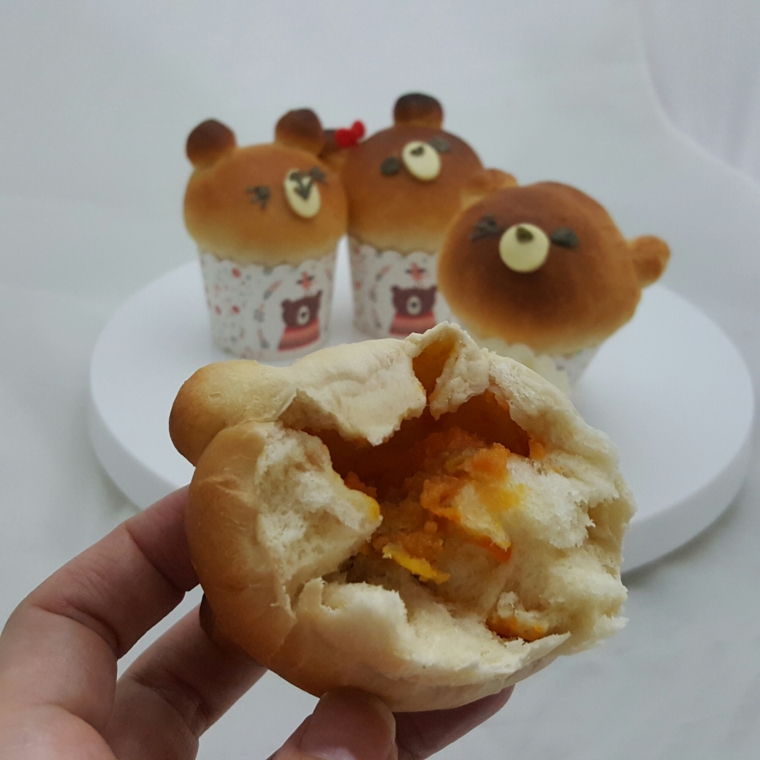
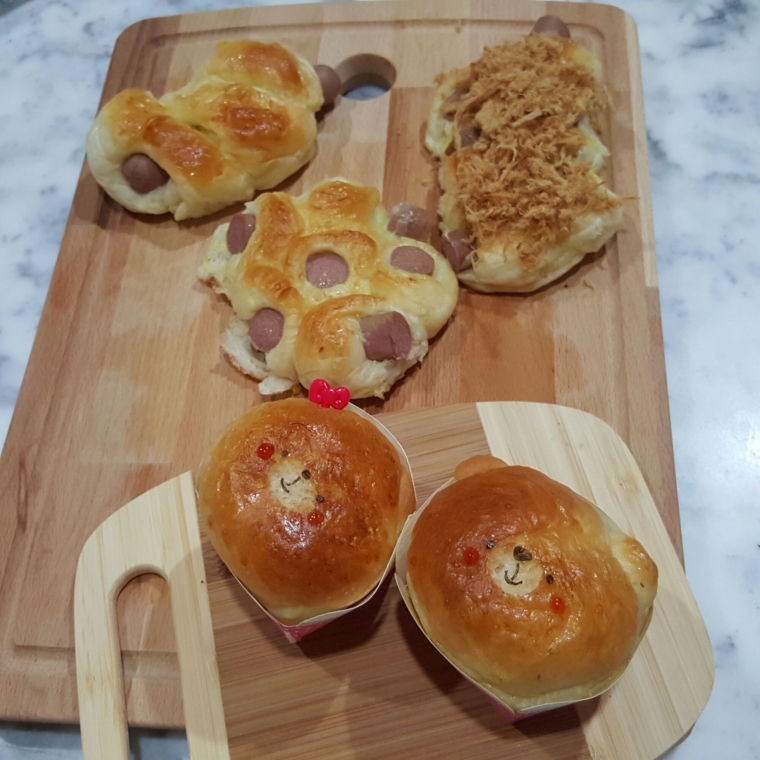
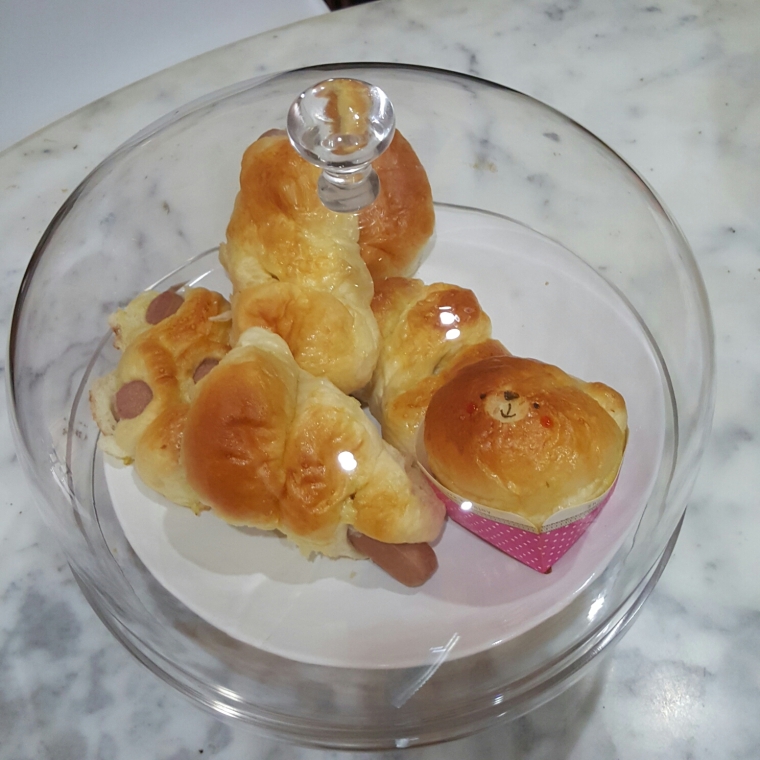
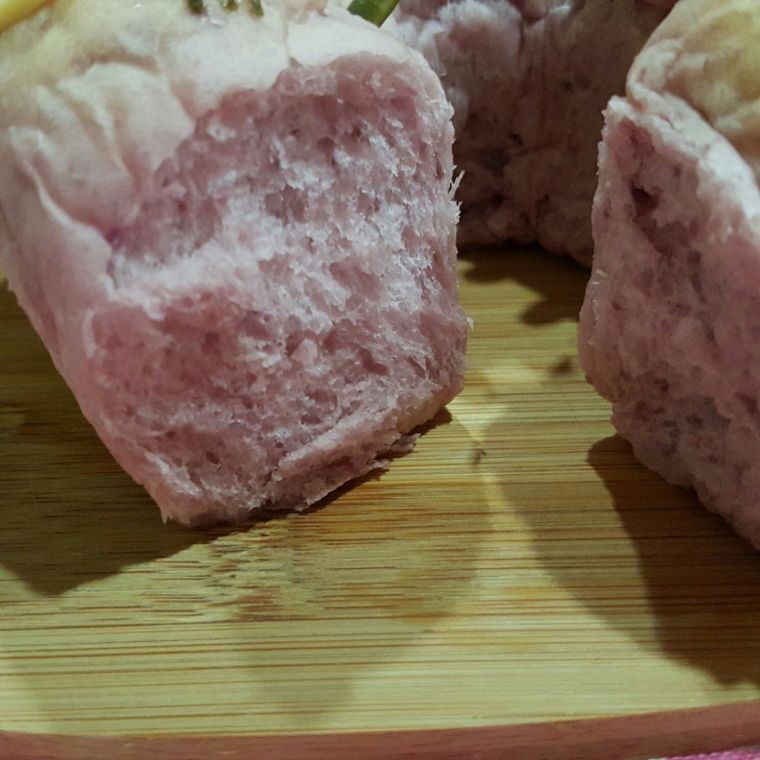
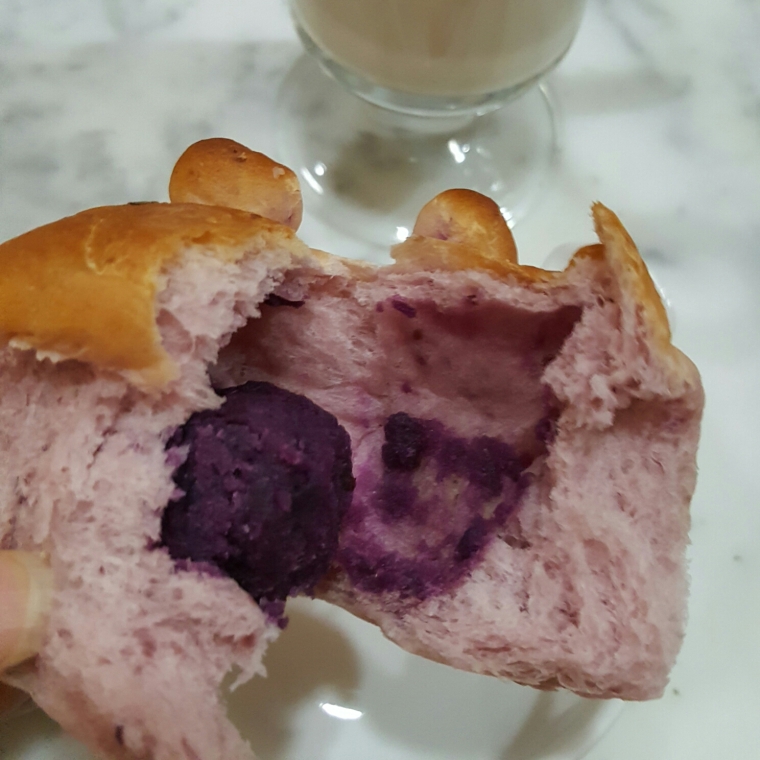
Made 4 bear buns and filled with sweet potatoes. Yum…

One cant have too many cute baking cases. I just ❤ these cute bear cases.


Made these buns using eggless hokkaido soft bread recipe. Link is here.

How~

  1. Measure ingredients and dump into bread maker. Select dough function to knead. (1 hour). You can also knead by hand till window pane stage.
  2. Remove from bread maker. Punch out gas from bread.
  3. Divide into balls. I made 10 balls of 50 gm and 8 tiny balls of 5gm for bear’s ear.
  4. Let them rest covered in wet cloth for approx 15 mins.
  5. Roll and shape balls. Put filling of your choice. (Kaya, nutella, egg, sausages…)
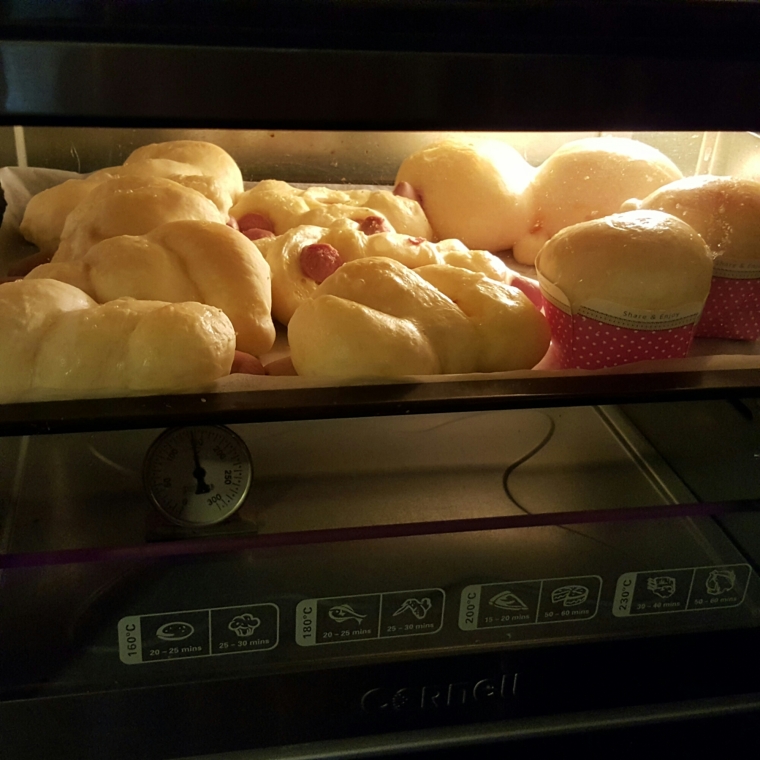
  6. Arrange them onto baking tray.  Use baking paper if your baking tray is not non stick.  Leave two cups of boiling water in oven to create a warm environment. Rest them for second proofing in oven for an hour.
  7. Bake 170°C gor 15 to 20 minutes.

*Sweet potato filling recipe

  • 100 gm mashed steam potatoes
  • 1 tsp butter
  • 1 tsp sugar

Mix until evenly combined.

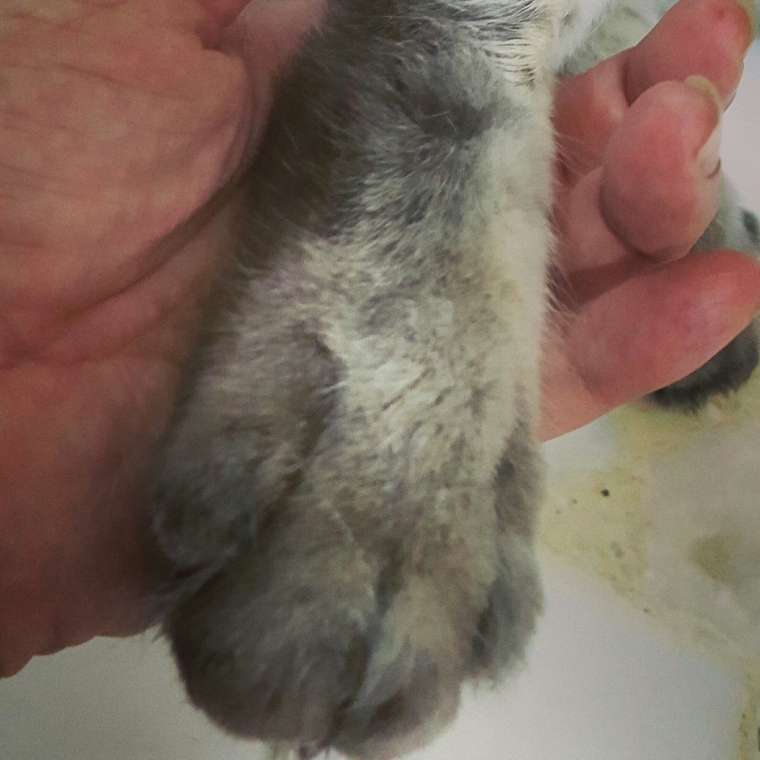
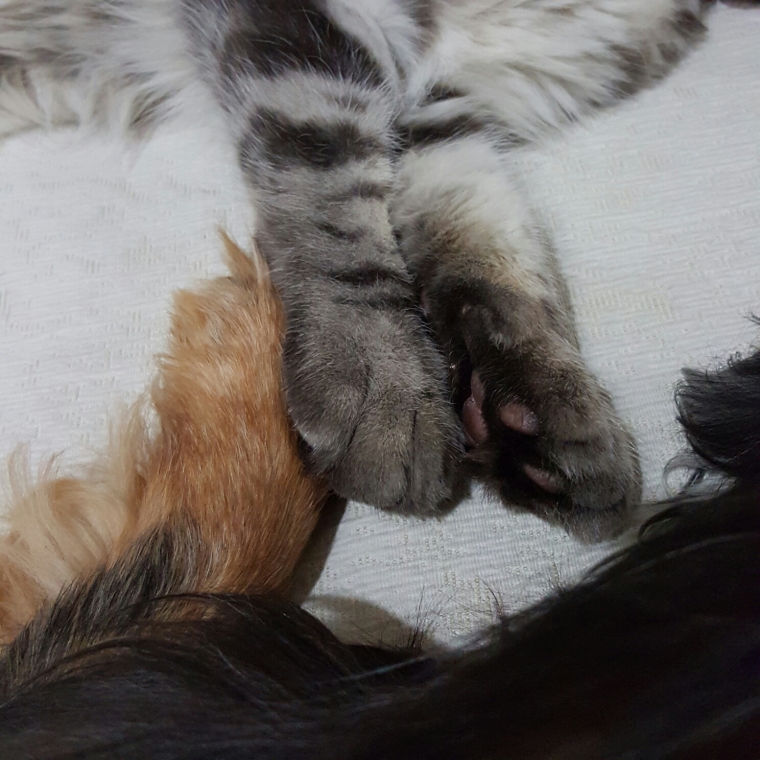
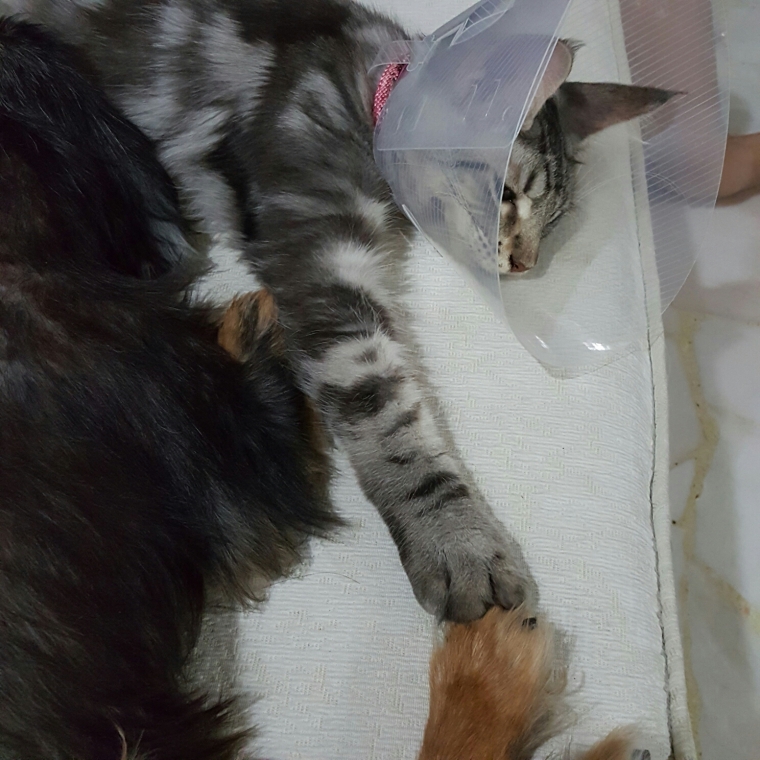
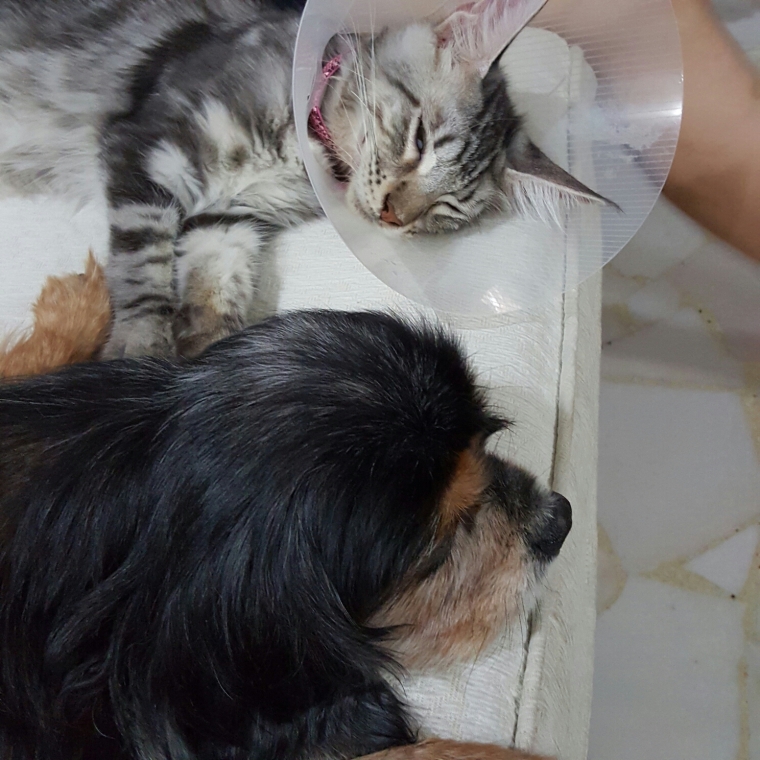
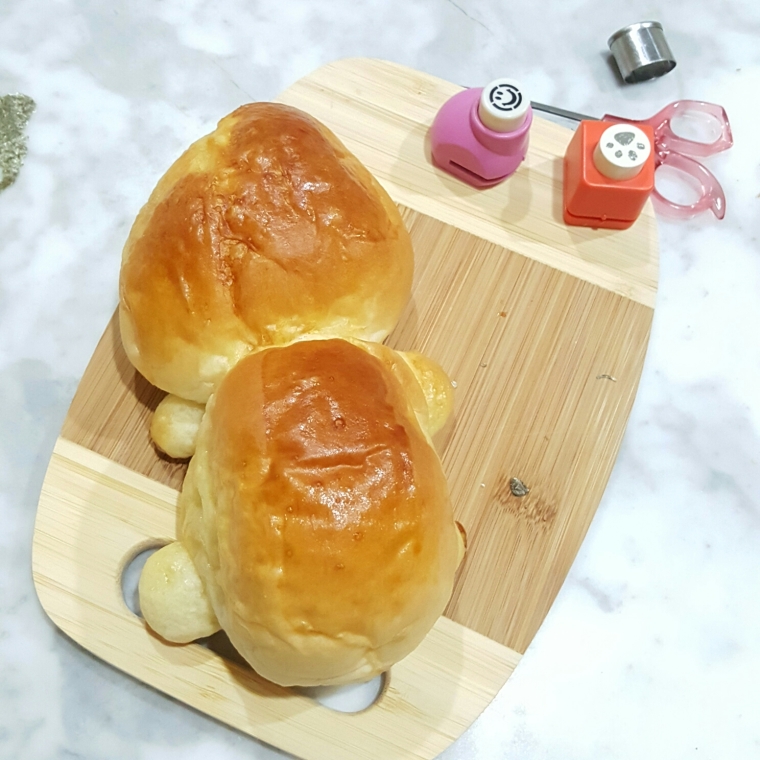
I took this pic this morning. Grow baby grow!! ❤🐈

Cheers

Karen☕

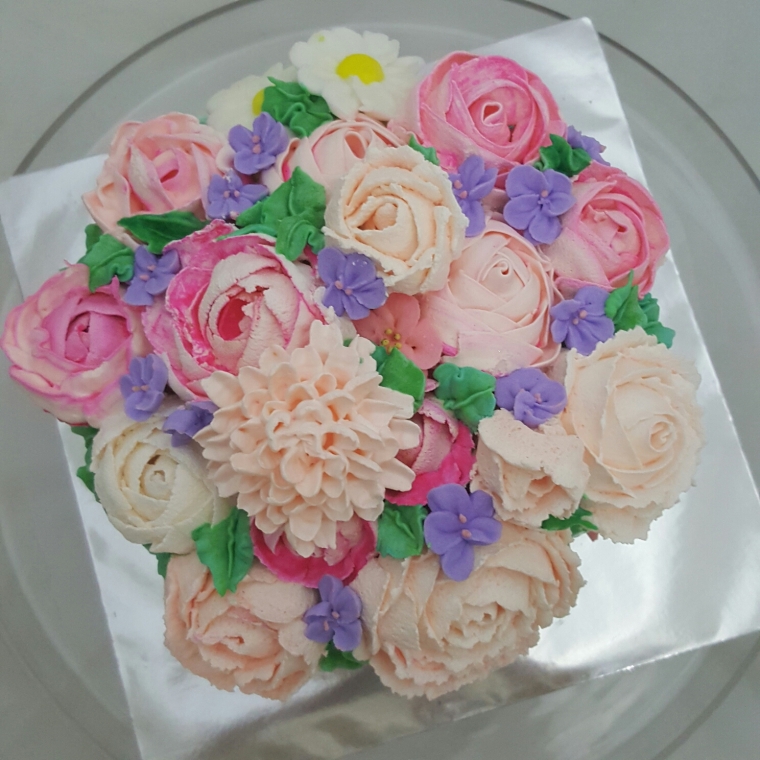
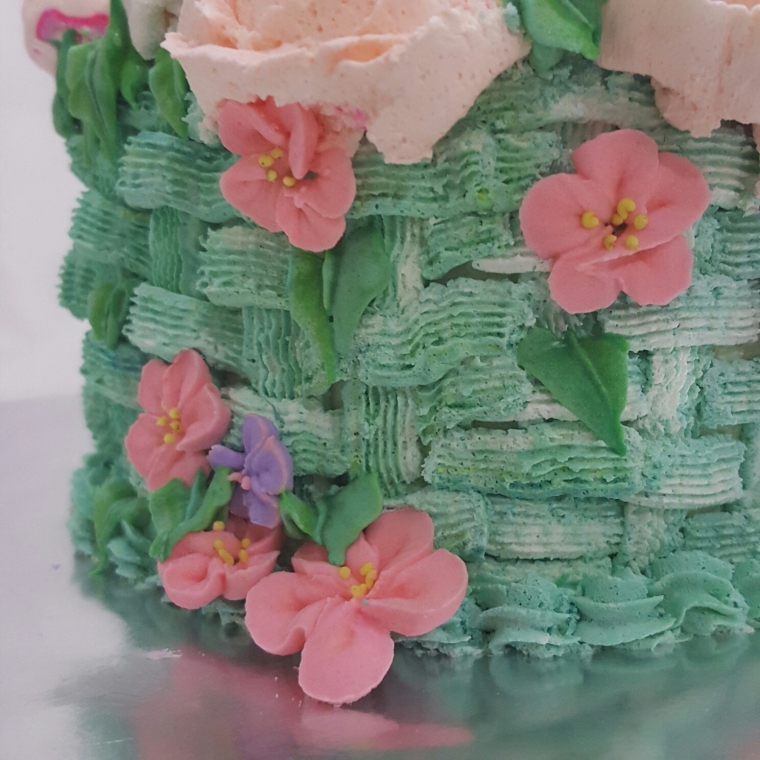
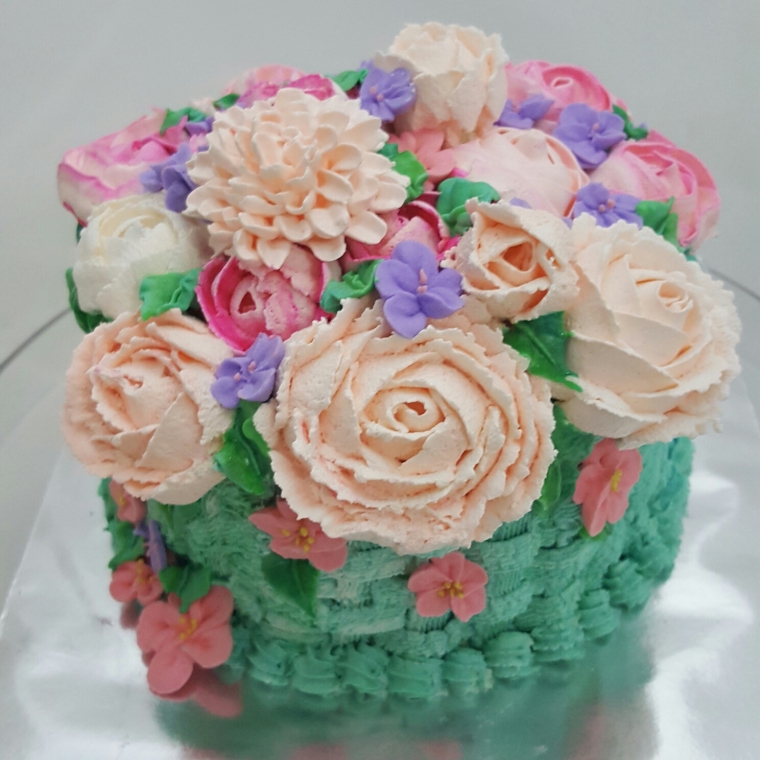
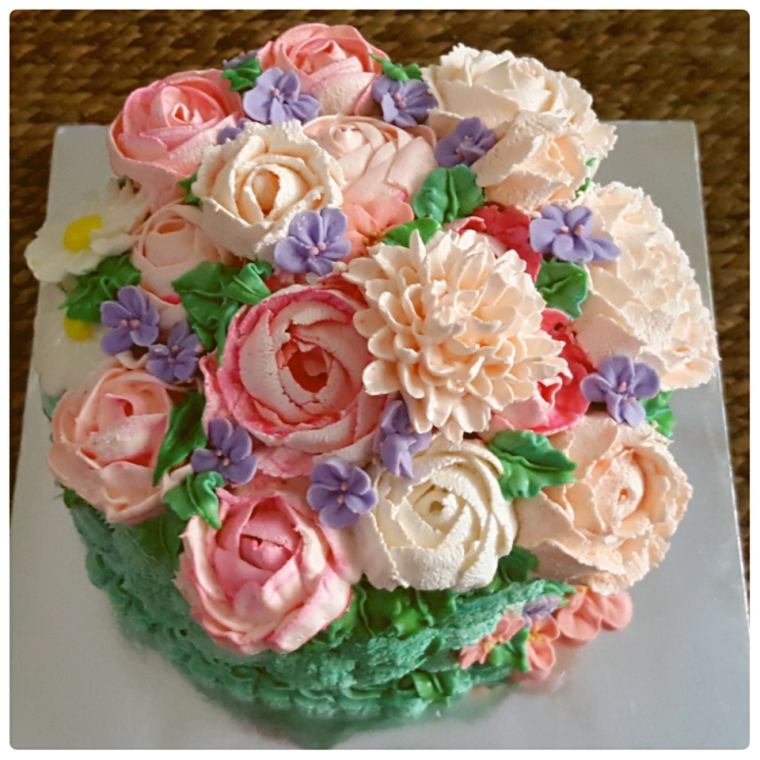
Weaved basket flowers buttercream pandan sponge cake

Im still in my what seemed like a long journey to improve my buttercream flowers piping skills.

Done –

  • Swiss meringue buttercream
  • Sweet buttercream
  • Commercial bettercreame
  • Practice buttercream (using shortening)
  • Royal icing

Im attending a cake decorating class weekly. We have just completed the buttercream modules. Next will be all about decorating cakes using fondant. (Excited!).

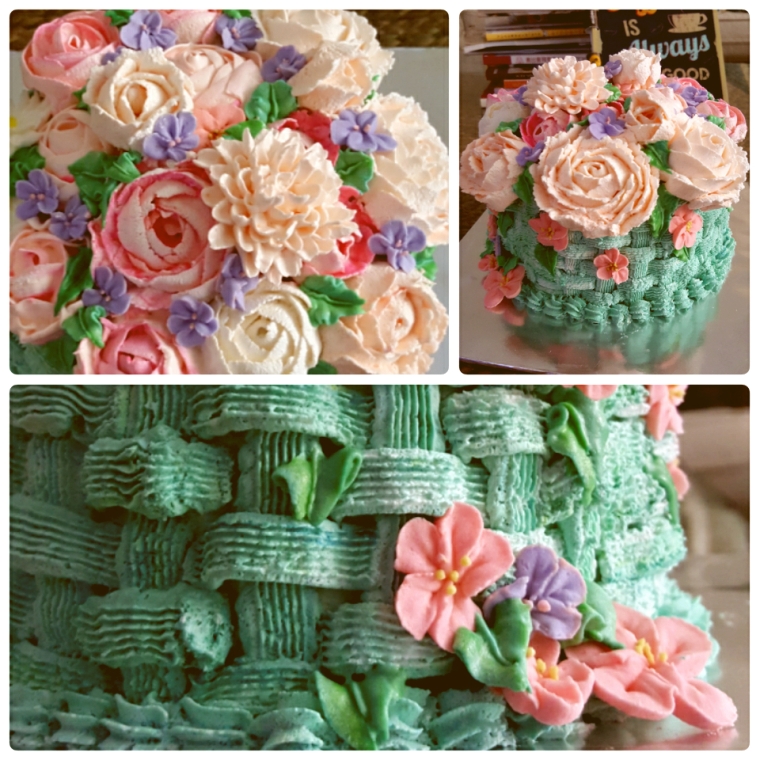
Here are a few pictures of latest work.

Notes:

  1. frosting using bettercreame
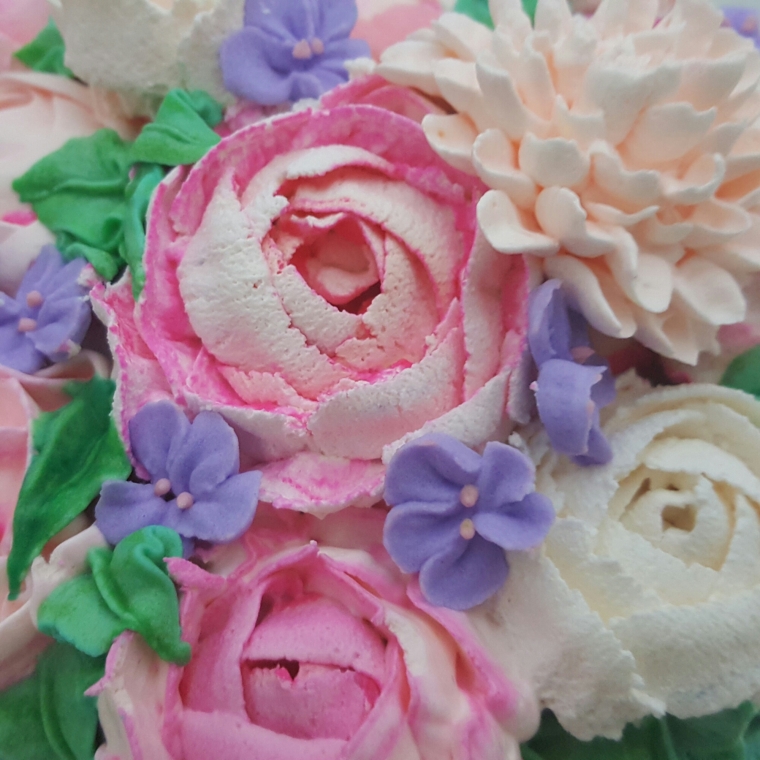
  2. piping using royal.icing and bettercreame
  3. Piping tips/nozzles used –
  • 47 – basket
  • 67 – leaves
  • 81 – chrysanthemum
  • 97 – victorian roses
  • 101, 1 –  violets
  • 104 – daisies, roses

Recipes for cake and royal icing below pictures.

Ok just 2 more photos…


Pandan sponge recipe from ~

https://www.google.com.sg/amp/s/jeannietay.wordpress.com/2016/07/20/pandan-sponge-cake-chiffon-recipe/amp/
Royal icing recipe ~

  • Meringue powder 3 Tbsp
  • Icing sugar 450 gm
  • Warm water
  1. Mix meringue powder and icing sugar at low speed with paddle attachment till evenly combined.
  2. Add water and mix for 5 to 6 mins at low-medium speed until icing loses it sheen.
  3. Cover icing with damp cloth to prevent drying.
  4. If too soft, add icing sugar. If too stiff add water (by drops).

Note to self – can replace water by adding flavorings /extract / lemon juice.

like my Facebook and follow my instagram for latest updates.

Cheers!

Karen ☕

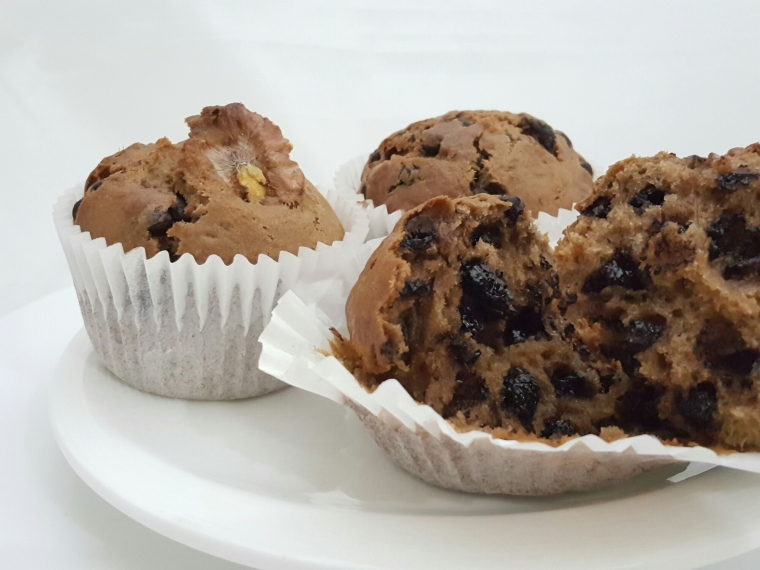
Banana chocolate chips milo muffins

I had been biking and sewing in the last few days. It’s time for some baking therapy today!

I’ve saved 3 large bananas for a week to bake this. They were so riped to the point of almost rotten! (But not la 🙂 )

Wanted to try baking these after reading online raving about malted banana chocolate chips muffins from domestic goddess~ http://thedomesticgoddesswannabe.com/2015/03/malted-banana-chocolate-chip-muffins/

Recipe adapted from the above.

  • 3 large bananas
  • 110 caster sugar
  • 60 gm oil
  • 2 large eggs (114 gm nett without shell)
  • 250 plain flour
  • 3/4 tsp salt
  • 3/4 tsp baking powder
  • 55 gm milo
  • 3/4 cup of chocolate chips
  1. Mix banana and sugar till combined. I used a stand mixer with paddle attachment. can mix using hand whisk too.
  2. Add oil. Mix.
  3. Add eggs. Mix.
  4. Add dry (powdered) ingredients in 2 batches.
  5. Fold in chocolate chips. Do not overfold.
  6. Scoop into muffin cases. Make 12 standard muffins.
  7. Bake for 30 minutes.

Smells so good…. yummy too!!

* oh i forgot to mention i’ve added a whole walnut to a few muffins. My kids dont like them.

I need my cappucino. Nothing beats homemade ya?

Haha…trying out video editing.

On another note. Kaizer the kitty is getting along with charlie the doggy. I love these moments.

😍❤❤❤🐕❤🐈

like my Facebook and follow my instagram for latest updates.

Cheers!

Karen ☕

famous amos copycat recipe

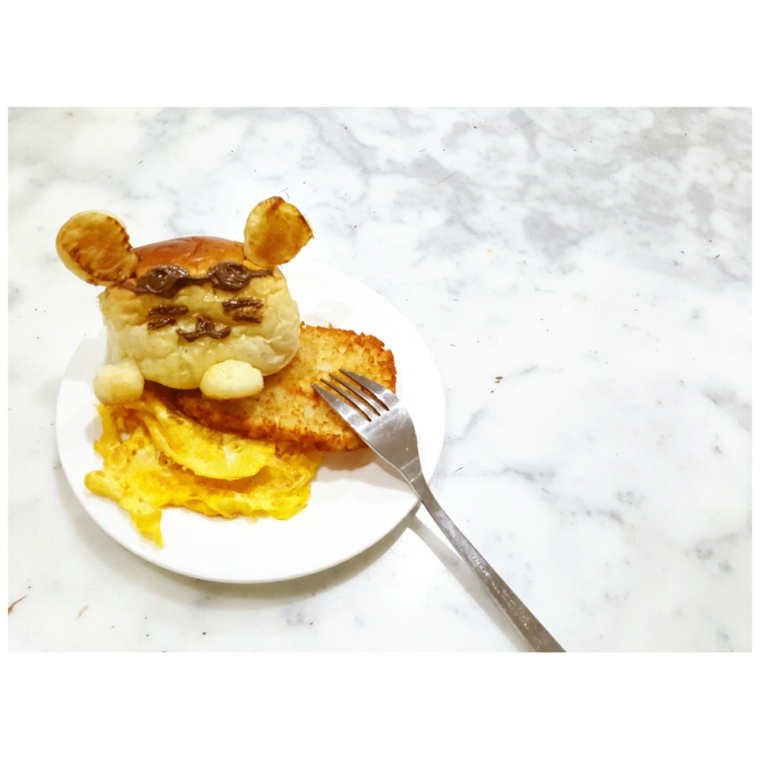
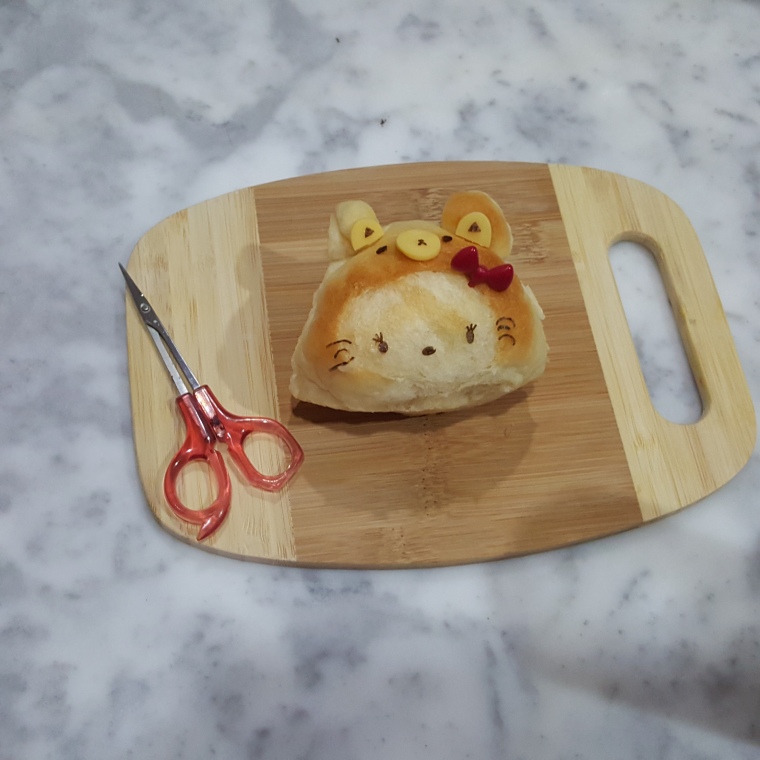
this was the odd shaped bun that didn’t turn into a bear. see previous post.

made it into a kitty with shades. cute?today’s baking therapy is orange choco chiffon and famous amos chocolate chip cookies.

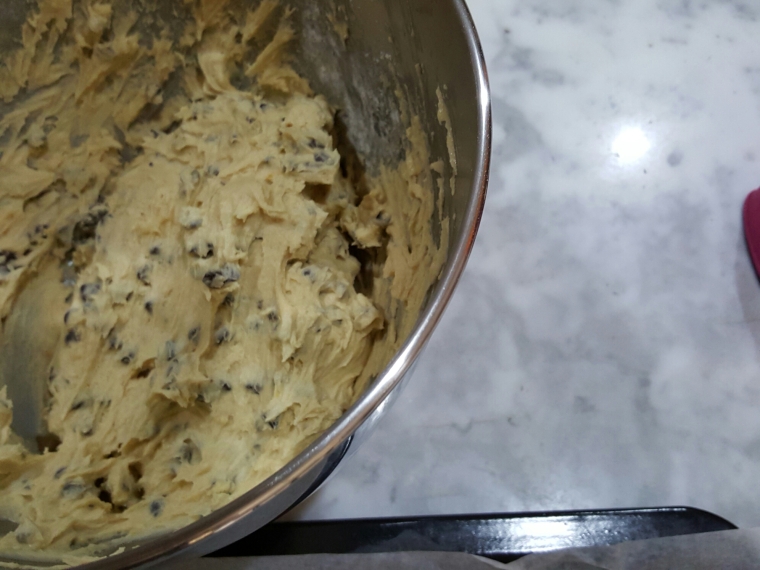
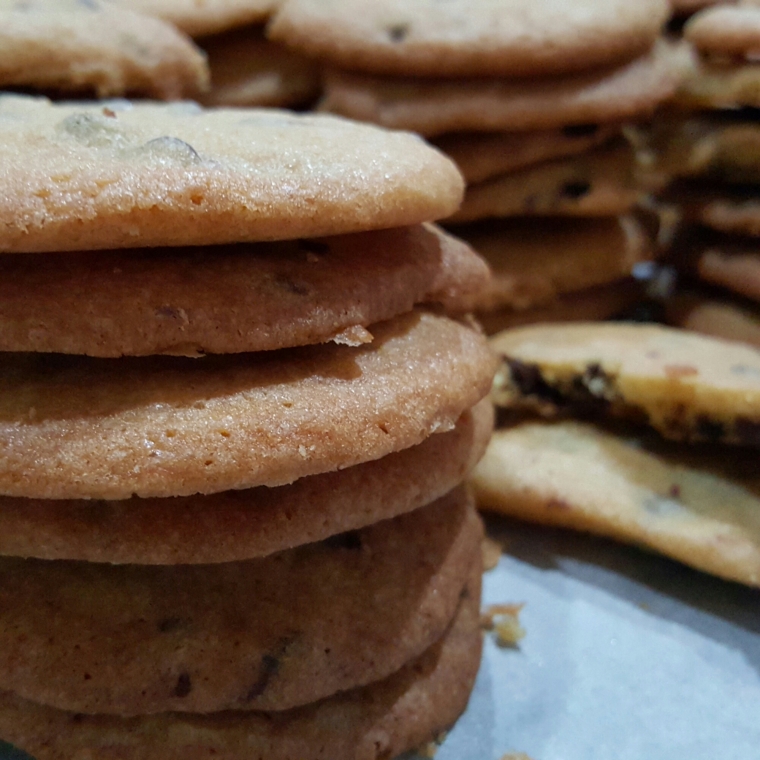
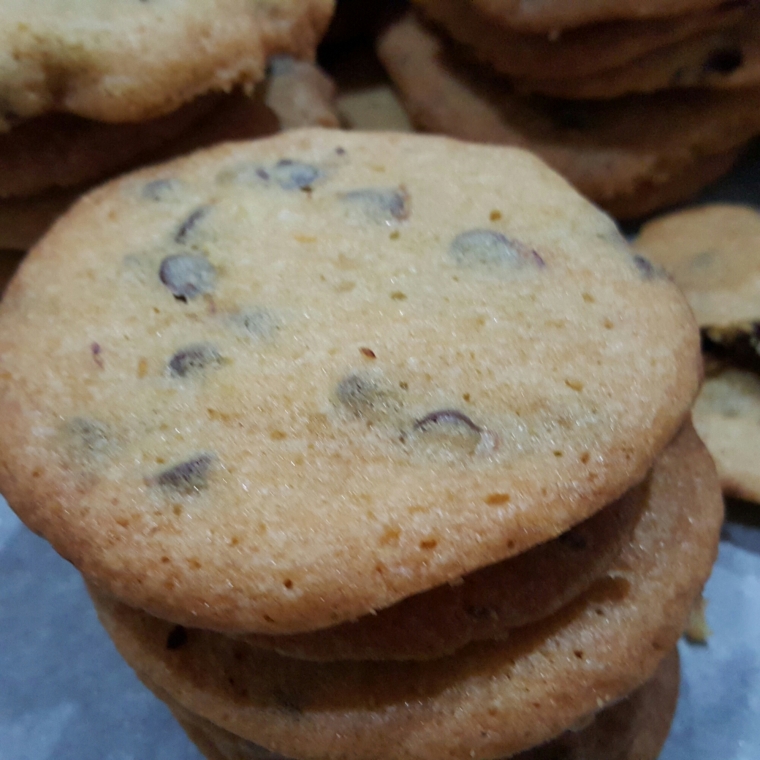
this famous amos recipe yielded flat chewy soft cookies. i will make smaller cookies and reduce sugar in the next bake.

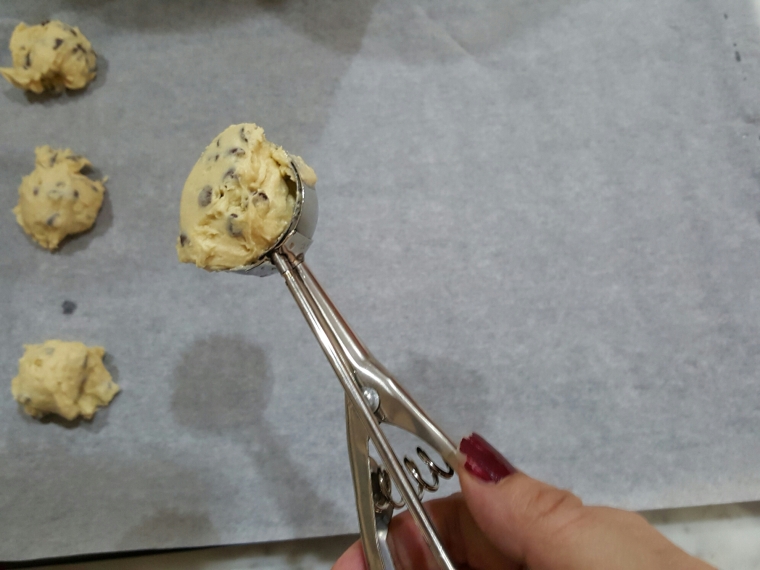
using my newly bought mini ice cream scoop.

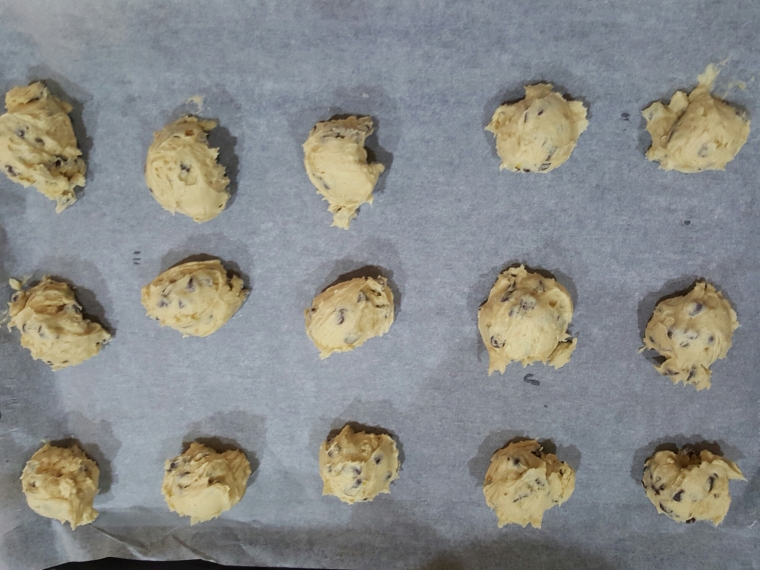
too close spacing resulting cookies joined with each other.

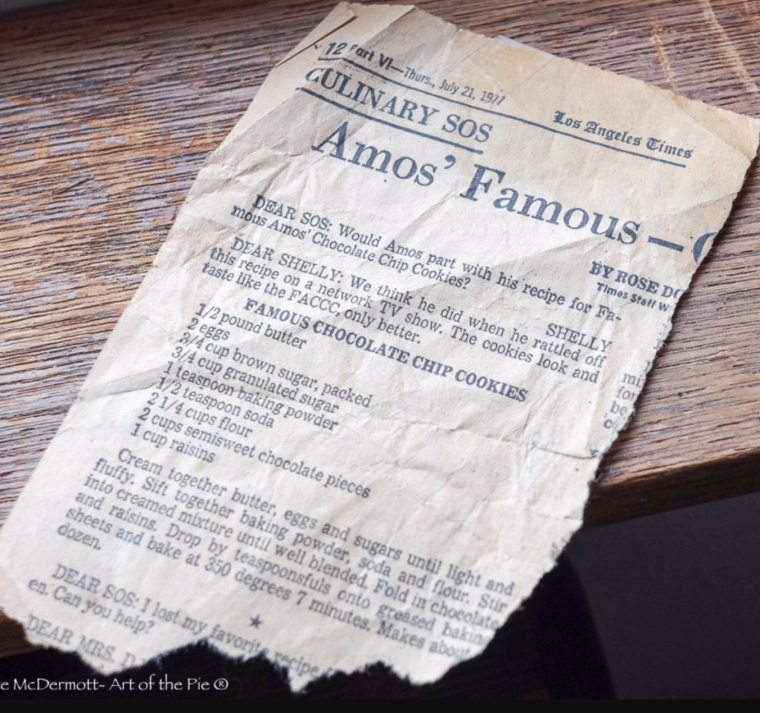
recipe per picture from Internet.

note: 1 cup flour is 120gm. 2.1/4 cup is 270gm.1 lbs butter is 227 gm.

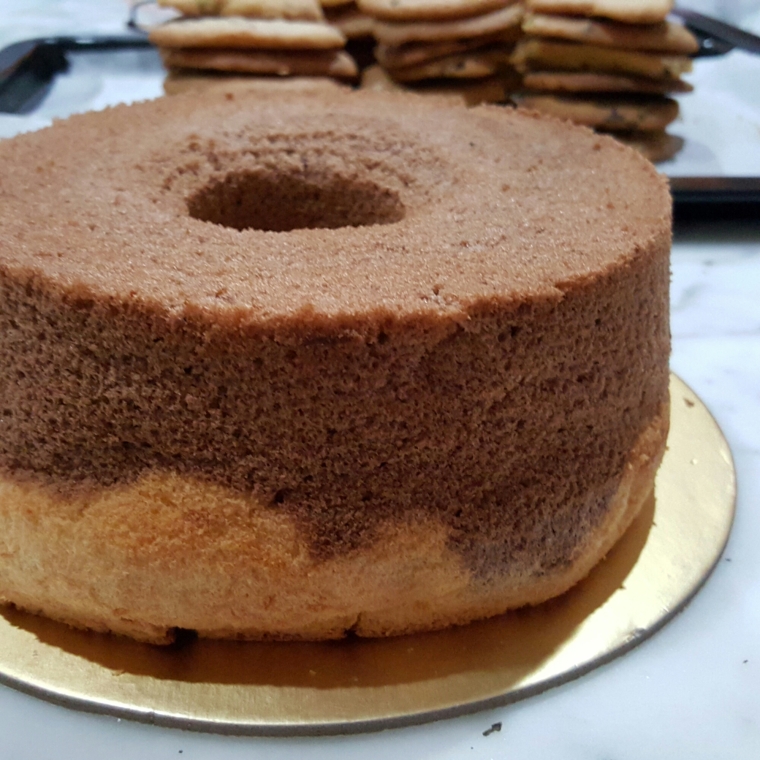
and here’s my orange choco chiffon. details will be in the next post.

eggless hokkaido milk bread

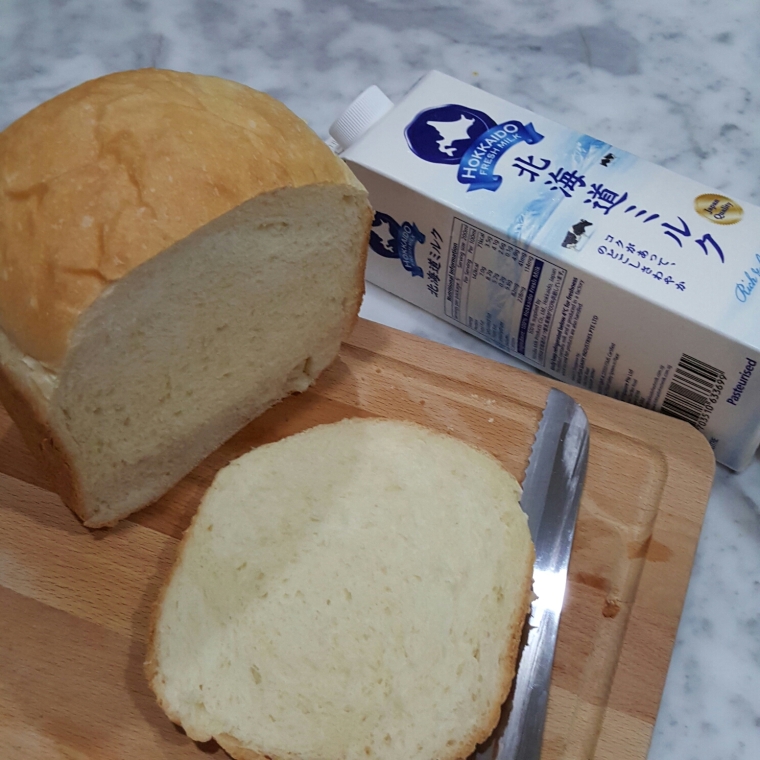
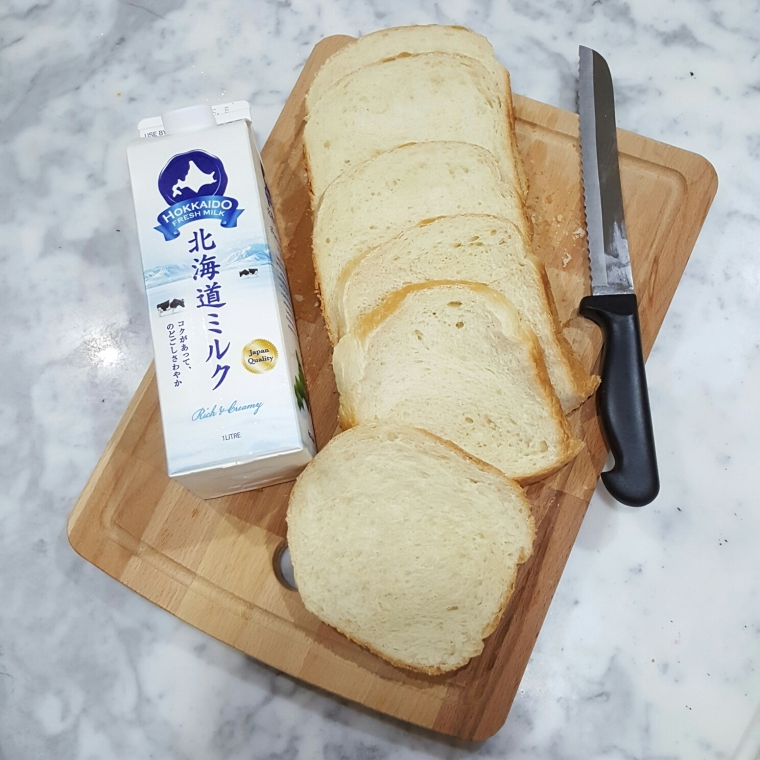
there are so many recipes using hokkaido milk to make buns. there’s hokkaido bread, hokkaido chiffon, … hokkaido this and that. i have never came across this milk in the supermarkets i went, so I usually used other fresh milk brands to substitute.

i passed by a japanese shop in Suntec while on the way to totts yesterday and spotted a promo selling 2 litres of hokkaido milk for sgd12. That’s sgd6 for a litre of milk. almost double the price of what I paid for the ones I bought in supermarket.

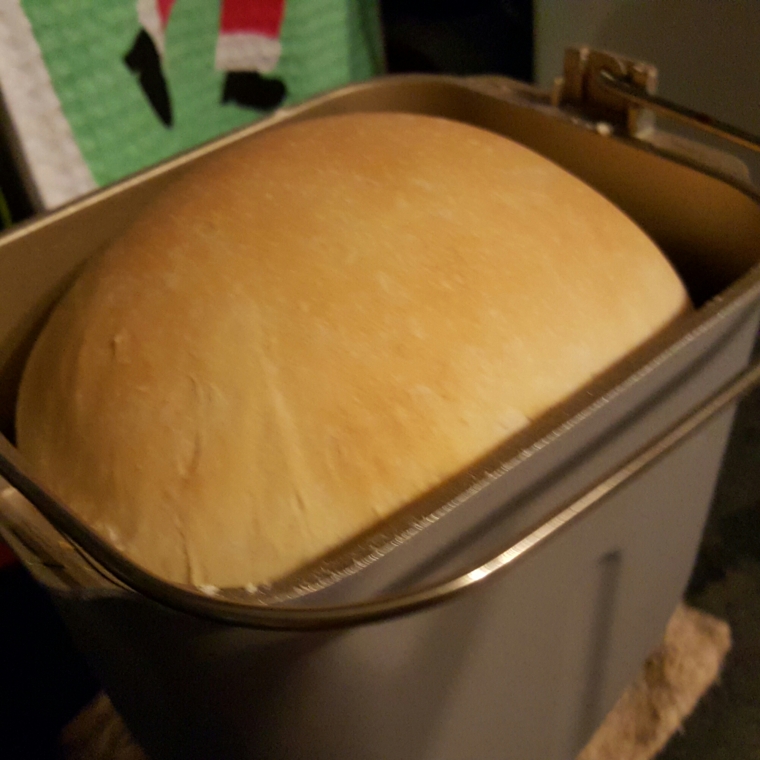
bought 2 and made bread. verdict – soft and sweet.

no egg bread recipe :

250gm bread flour
30gm cake fluor
30 gm raw sugar
20 gm butter
160gm hokkaido milk
5 gm salt
5 gm milk powder
3/4 tsp yeast

sweet smelling.

image

image

image

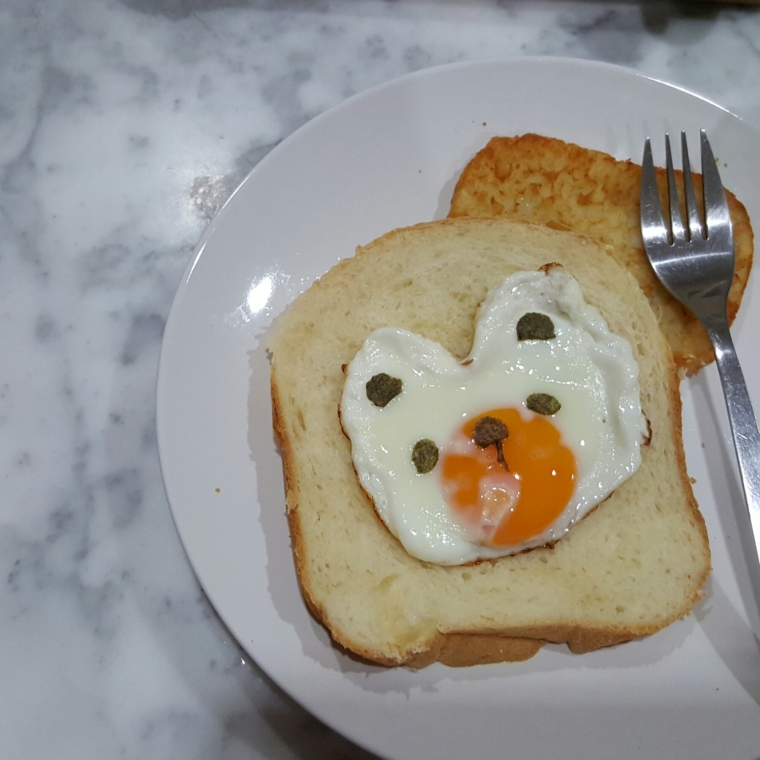
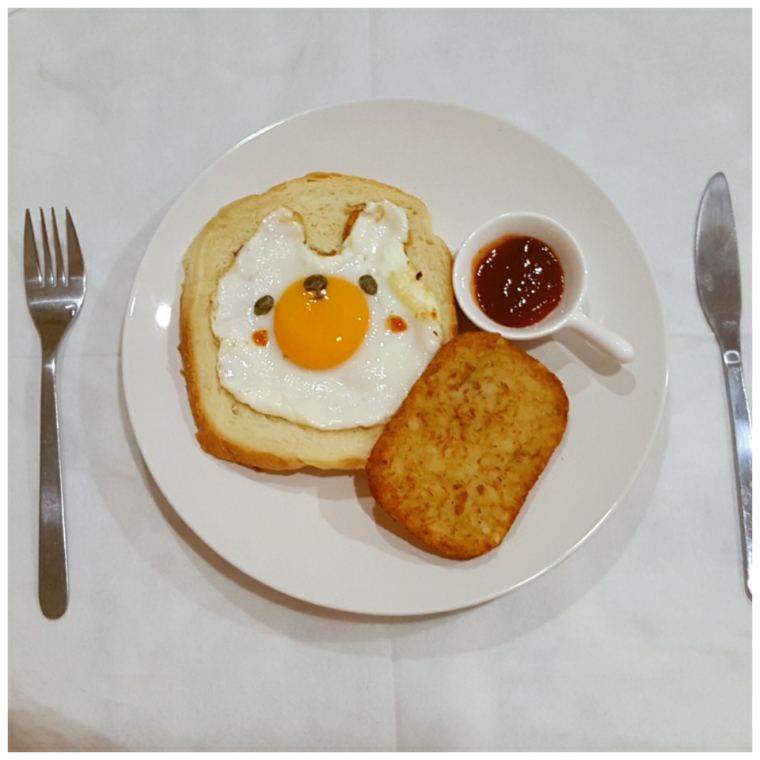
hubby’s brekkie. manually shaped the sunny side up egg with a spatula to make ears.

image

my lunch.

image

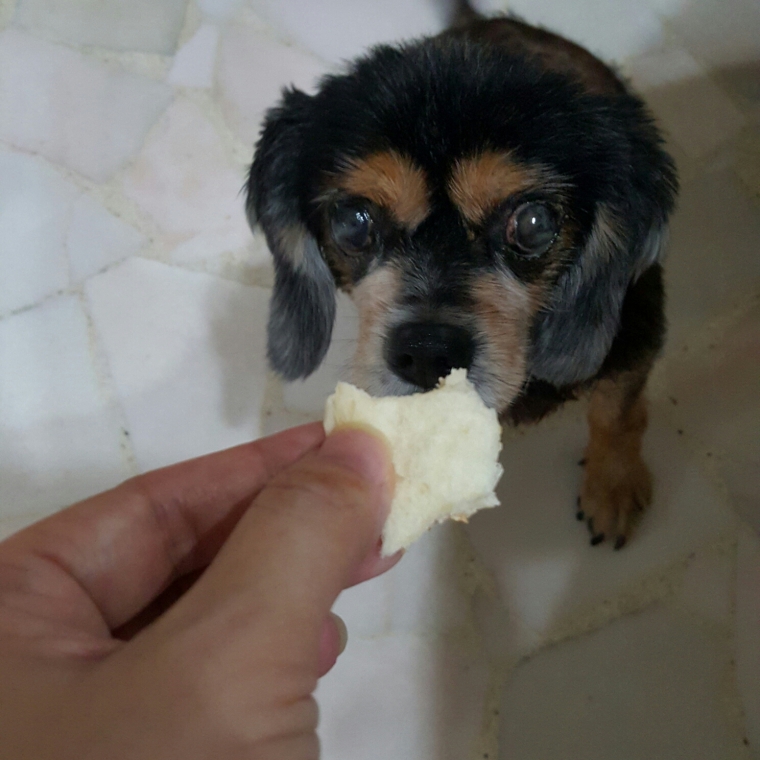
charlie’s

image

cheers!

forever friends buns and cappuccino

made buns using killer toast recipe for breakfast and lunch. this is my all time favorite recipe. simple ingredients and so so.. soft bread.

just add all ingredients and knead in breadmaker. shaped separately and baked in oven.

Here’s the recipe:

260 gm bread flour
30 gm sugar
30 gm butter
1 tsp salt
1 tsp yeast
1 large egg + milk =180 gm

i divided the dough into 45gms and yielded 12 buns. rest them covered with a wet cloth for10 mins .
shaped the buns. made 8 sausage buns and 4 kosong buns. 2nd proofing in oven for about an hour.
eggwashed the buns and baked at 170 Celsius for about 12-15 minutes.

I always made the same mistake by placing the buns too near each other.

image

sausage buns and kosong buns cooling after baking and brushed with a generous amount of butter for shine.

image

decorating bun is one of the reasons I baked and my favourite part of making bread.

image

same themed cappuccino. ☕

image

image

photoshooting time!

image

image

made a girl forever friend bun too. lunch for me was egg mayo and cheese and boiled nai bai veg.

image

image

yum!

image

oh, also made sausage and pork floss buns. just add some mayo to ‘glue’ the pork floss.

image

keeping the buns in a cake dome.

image

my epic failure in shaping bun below  just for laugh. it’s supposed to be a bear! what do you see?

image

see what I did to it on the next post! stay tuned. ☕😊

like my Facebook and follow my instagram for latest updates.

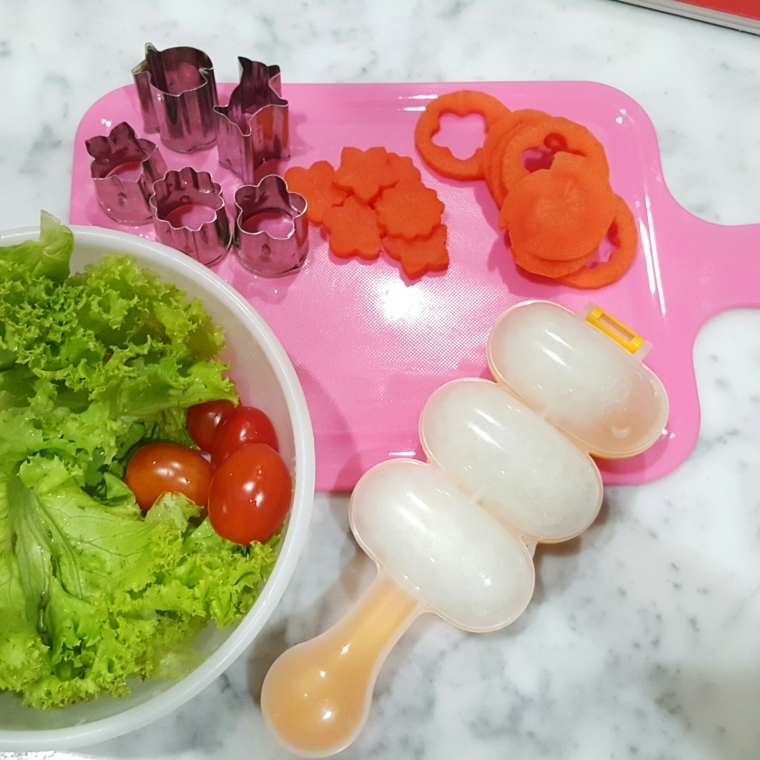
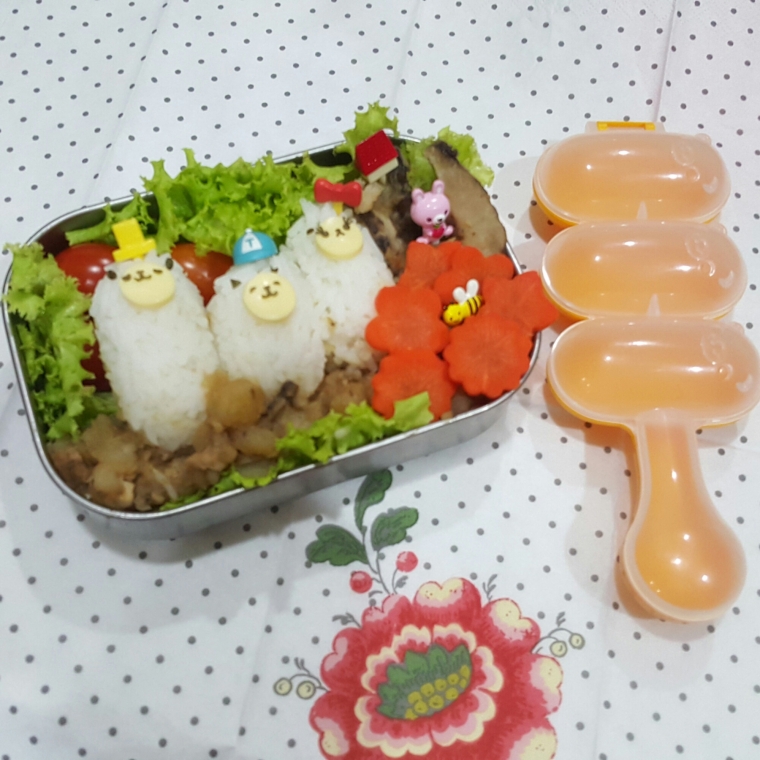
bento using Daiso shaker

the Daiso ball shaker was out of stock for a long time when it was first sold. I’ve used it to shape meat balls and buns fillings.

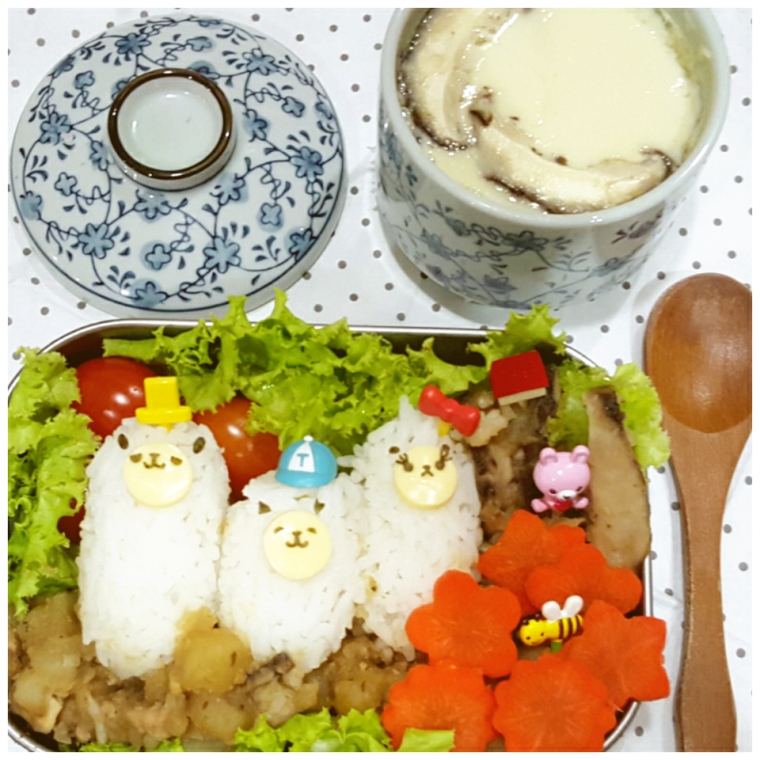
hey you can even shape rice with it just fill rice and shake shake. fill less to make smaller rounded balls.

image

dinner ~ chawanmushi recipe, mushroom potato stew, raw carrot and mini tomatoes.
image

image

Cheers! ☕
karen

colouring chiffon cake/S

i’ve baked chiffon cakes with good success rate until this! how difficult it is to bake them in colour. just divide and add col right? wrong.

to preserve the colouring and avoid burnt/caramelised sides and bottom, the coloured chiffon batter has to be baked in low temperature, so need a much longer baking time.

i failed both times and as i am typing this. there is another one in the oven!

i usually blog and post about success stories but i want to share these failures with you too! so don’t judge me ok! 🙂

i love cuisine paradise’s orange chiffon cake recipe. not too big a cake and i had many practices. almost fail proof to me so i thought.

i used this recipe but adjusted the timing and temperature according to the creative chiffon experts blog – loving creations for you, the timing and temperature for 4 eggs whites recipe is 160 C for 15 minutes and 140 for another 15 -20 minutes.

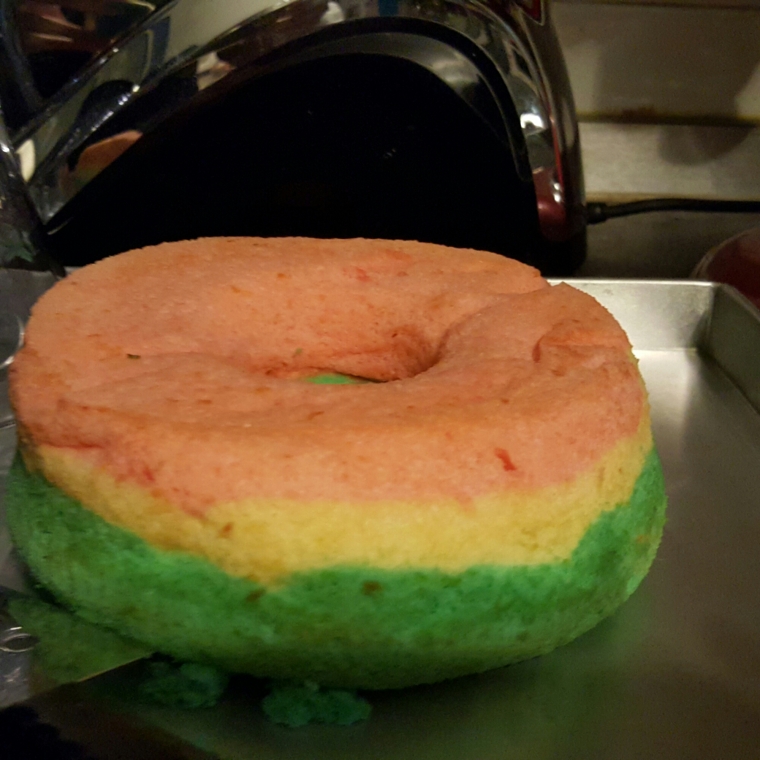
it looked very nice in the oven, tall and colour as it should be but collapsed and dropped while cooling. i was watching the telly and heard a loud bang.  aiyer… why like that?!! i am baking this for a friend as her belated birthday gift and i am meeting her for lunch tomorrow!!
image

undeterred i started the whole process again (i have just washed and cleared the sink!). this time i use loving creations for you recipe but replaced mandarin orange with orange juice and zest.

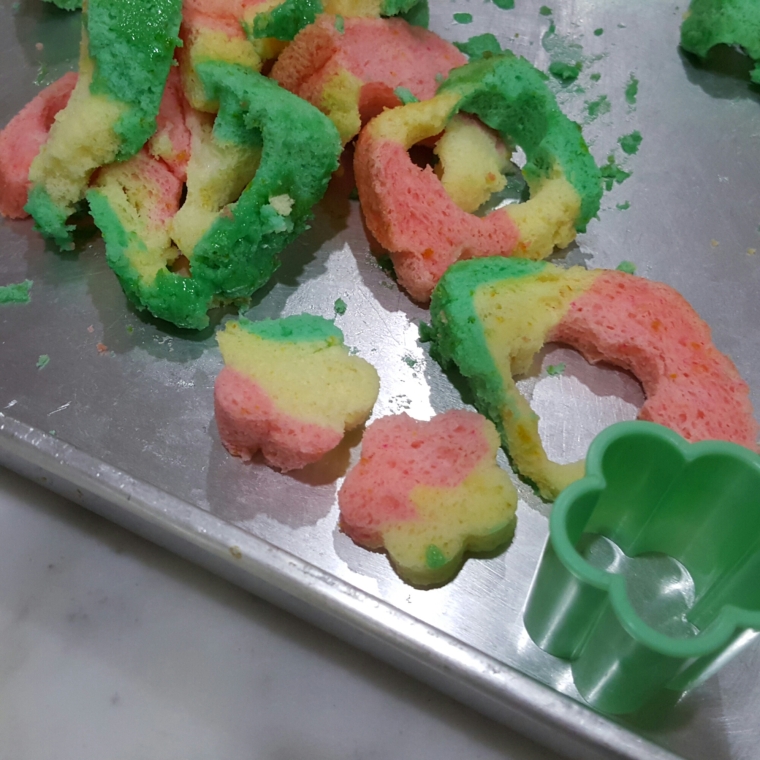
i cut the previous cake into pretty blossom flowers and hearts and align them in the pan before pouring the coloured batter. this time i kiasu – separated and made 2 colours only.

it too was beautiful in the oven, tall and little cracks this time. unfortunately for the second time, it was shrinking too fast and almost like collapsing while cooling. i reheat oven and baked it again for another 10 minutes. oh well, too late. still vertically challenged but better shape than the first. not pretty because coloured ‘chow tar ‘/ burnt/caramelised? due to overbaked the second time.
image

image

can you read the name?
image

both cakes were tested with a skewer which came out clean confirming that the cakes were cooked. tasted ok too just not fluffy and light. sigh.. what to do. it was too late into the night and i had no more energy to bake another.

(the birthday girl called the next day and said she had to take a rain check because she was not feeling well. er. ok. i have no cake for her….phew! )

now let’s talk about the third attempt, the next morning.

i repeated the second recipe. i used yuzu marmalade to replace orange juice and added some lemon zest as i ran out of oranges.

i measured and divided the batter and meringue to 3 parts equally. i did the same for the above bakes. my agaran quite bad. i’ve learnt that from from my homemade bread buns. shaped dough/balls looked the same size to my eyes but all grown to different sizes in the oven.

note: i measured the batter bowl and meringue bowl. then measured them again with the batter and meringue inside to get the latter actual weight and divide to 3.

i used pastel pink and blue wilton food gel colour. just dip a tooth pick once into the gel colour and tint the batter.

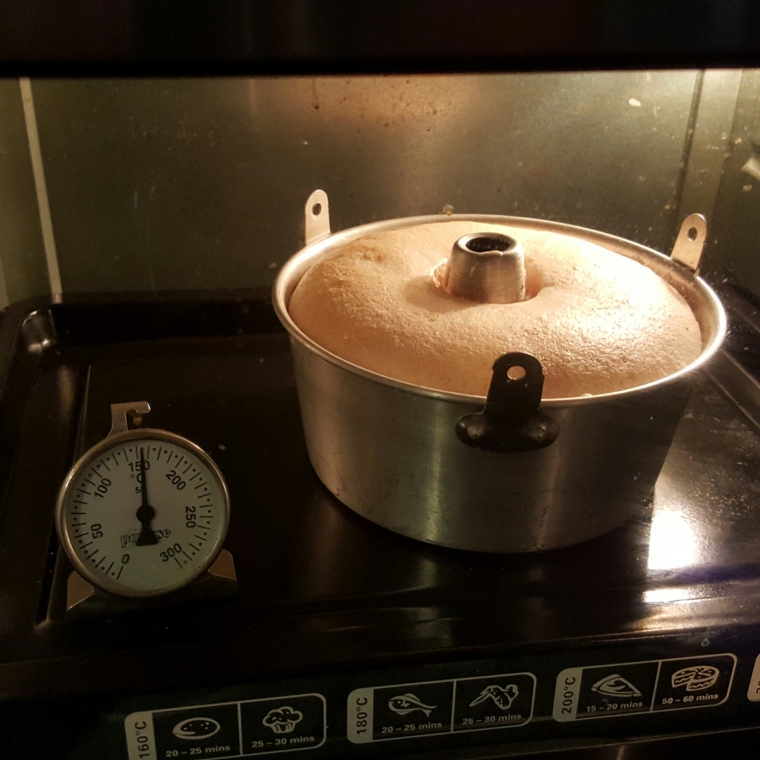
baked according to the recipe time. used an oven thermometer this time just to be sure. tested with skewer.

again it was shrinking too fast to my liking when cooling. i then decided to just let it cool in the hot oven (off mode). it stopped shrinking and so here it is my 3 coloured chiffon cake. the prettiest of 3 and tallest.
image

image

dented at the side. bummer… 😦
image

image

lovely pastel colour inside. 💕

image

there’s plenty of room for improvement. well, practice makes perfect!

Cheers, ☕
karen
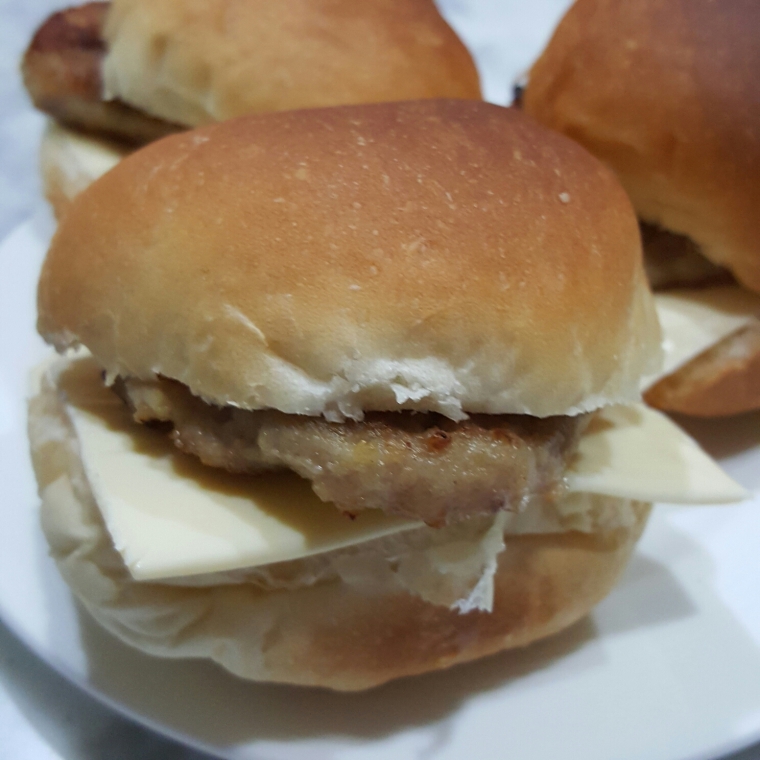
doraemon and totoro – cappuccinos and sweet potato buns

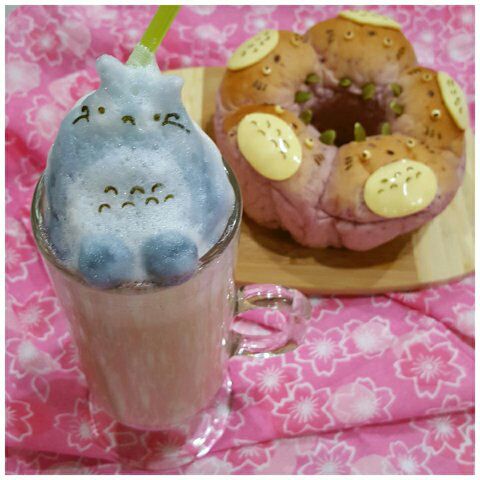
i received special requests for a virtual totoro and doraemon cappucinos and made complimentary themed buns too.

here are some pictures for your virtual feasting. hope they bring a smile to you as they did to me. enjoy!

image

image

image

image

image

image

image

these sweet potato buns are so soft that i had a hard time turning it (right side up) to cool on the cooling on the rack. Original recipe referred from mimi baking house.

total recipe is 585 gm and i made 14  (approx 40gm)  buns.

i baked 9 buns in a square pan and 5 in my smallest chiffon pan, 6 inches in diameter.

Recipe

  • 260 gm bread flour
  • 45 gm sugar
  • 5 gm salt
  • 15 gm butter
  • 165 gm cold milk
  •  100- 110 gm mashed steam sweet potato
  • 1 tsp yeast

sweet potato paste (filling)

  • 100 gm sweet potato
  • 1 tsp sugar
  • 1 Tsp butter
  • steam and mix altogether. enough to fill 7 balls only.

Method

  1. mixed all ingredients and separately add yeast into my trusty panasonic sd104 bread maker which did all the kneading and 1st proofing. – will take an one hour.
  2. took out dough and hand knead, punching air out before shaping into 14 balls and a few pairs of very small balls (for ears and tails). cover with a wet cloth- dough to rest for 10 minutes
  3. pin roll shaped balls flat and spoon in fillings. wrapped and roll with hand into balls again.
  4. placed them into baking pan.
  5. thereafter, into the oven with 2 cups of hot water (underneath baking pans) for second proofing –  for an hour.
  6. bake at 170 degrees for 12-15 mins depending on how light or dark crust you like.
  7. check doneness by inserting a thermometer . anything more 90 degrees Fahrenheit dough has becomes bread! 🙂

for a person (me) who just started making bread 2 months ago, this recipe is a keeper for now. i love the pink colour, the texture and of course the star ingredient, sweet potatoes which is packed with nutrients.

please visit and like my Facebook and follow my Instagram account to see latest updates and more of my creations, see you there!

cheers,

karen 🙂


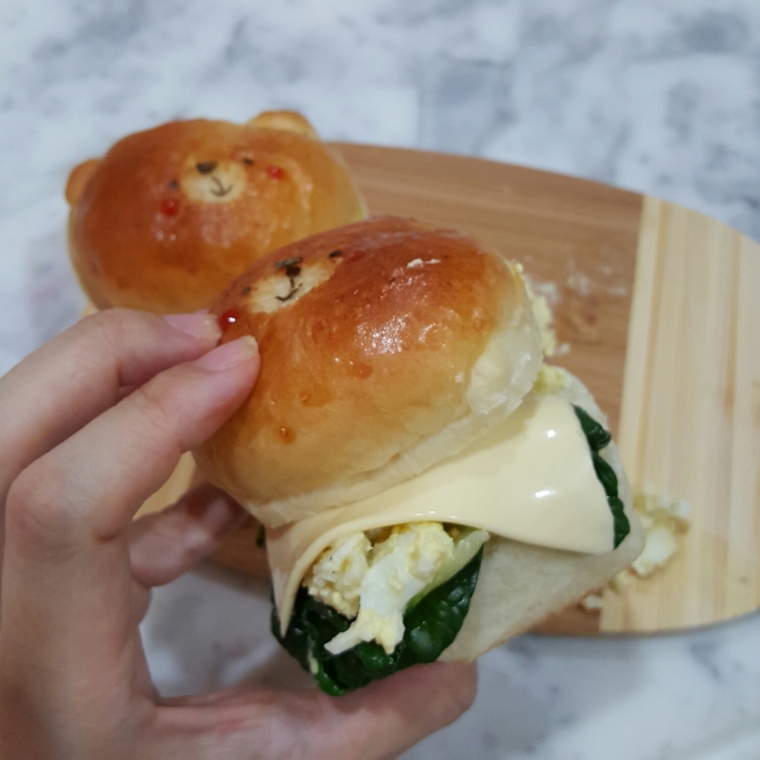
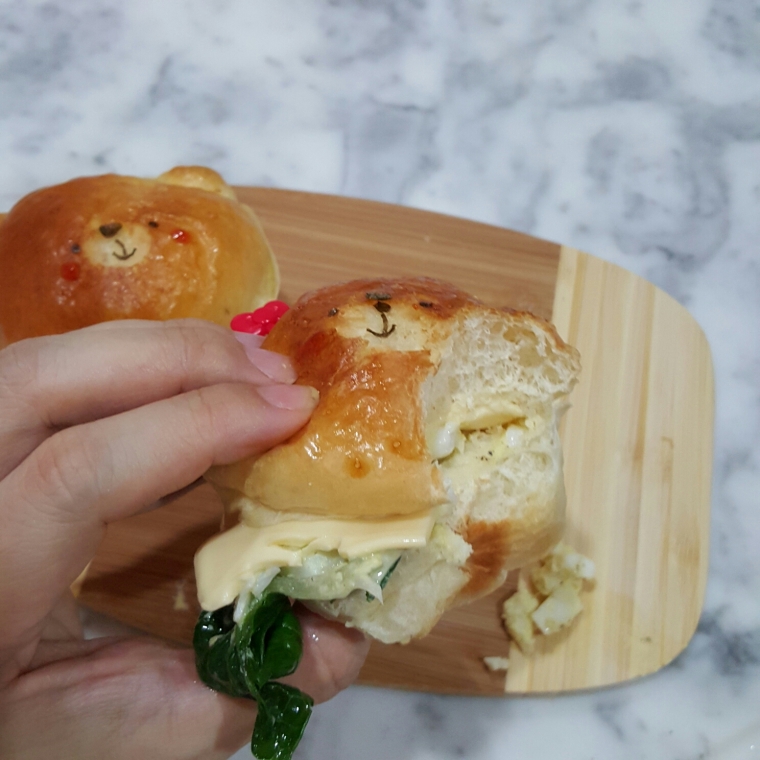
hello kitty 3D latte art and kaya bun

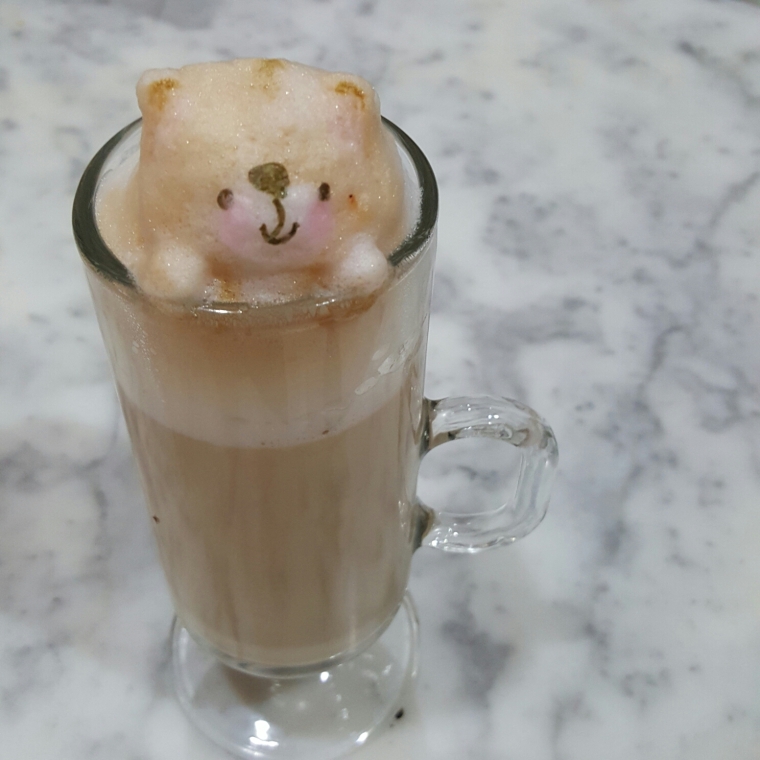
I am totally in awe with latte art. I did my first last year and have been making on an average 3 latte and/or cappuccinos weekly if not more in the past year.
one of my absolutely must have kitchen gadget for this is my nespresso’s aeroccino. it can froth foamy milk perfectly for 3d cappuccinos or 2d etched latte art. however, it’s not the right consistency for free pour latte art. 😦

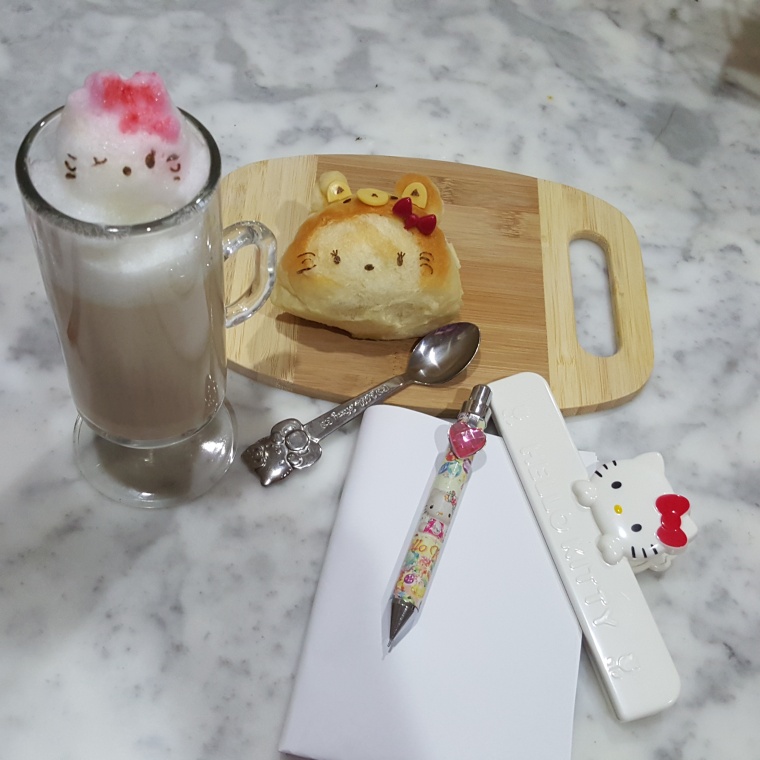
Here’s what i had for coffee break today  – a home baked hello kitty kaya bun and hello kitty (singapore’s 2 bows) 3d cappuccino.

made hello kitty bun by cutting the crust away with a small scissors. added cheese and punched seaweed/nori.20160609_163626

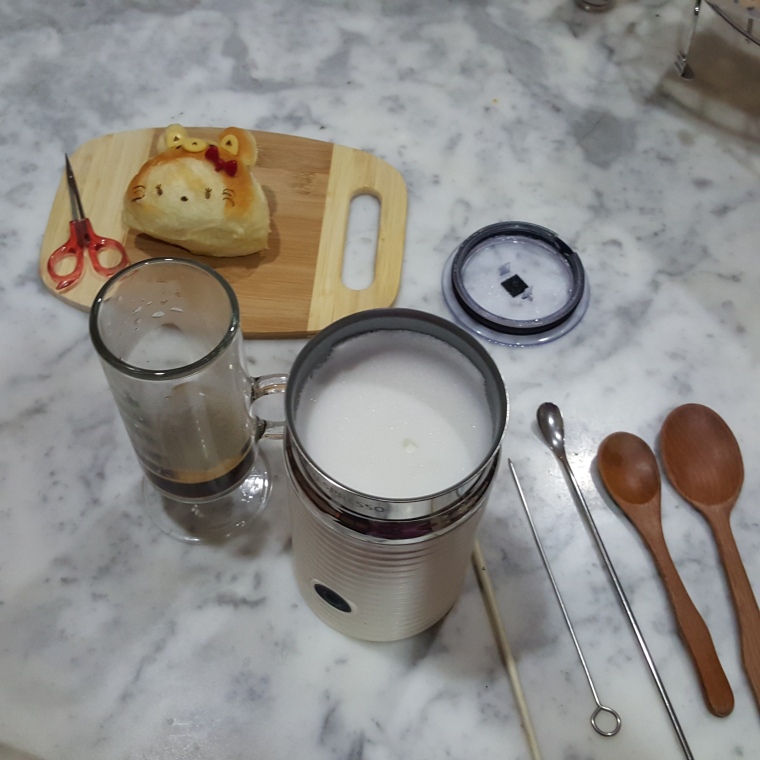
below is a shot of espresso from my trusty pink nespresso coffee machine and frothed milk with aeroccino. see how micro-foamy is the milk!

20160609_163810

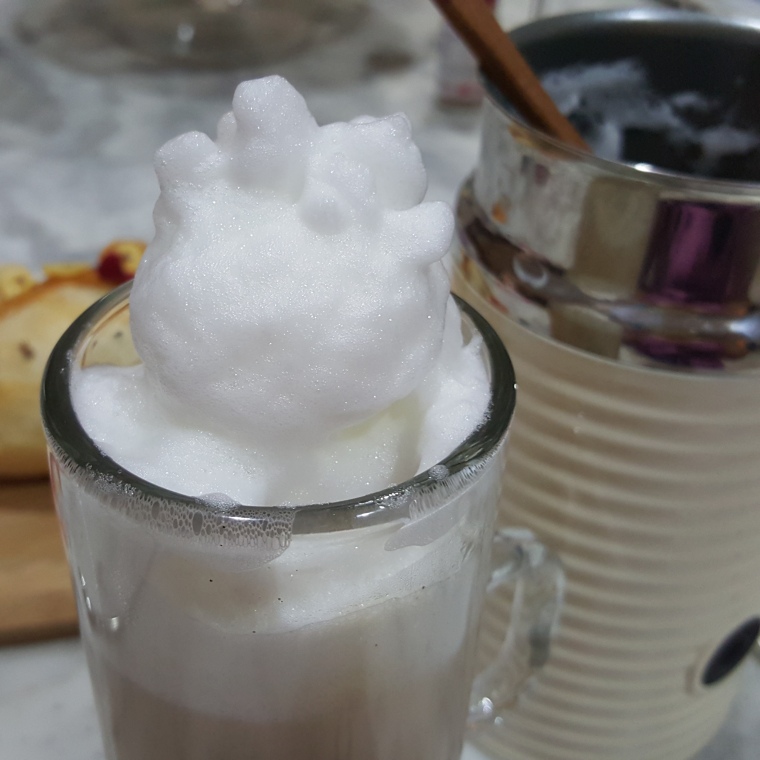
pour milk into the glass. scooped and ‘scuptured’ milk foam into desired character. it’s usually two tiny ears and a round face. in this instance, i made two little bows onto the head. can you see it?


20160609_164801

add facial details and add colour (food colouring) to bows.

tadah – all things hello kitty. 🙂

daiso hello kitty clip $2 ! hello kitty spoon and pen to write down my to-do list for the next day.


20160609_171241

below are a few favourite pics of recent homemade cappuccinos and buns.

13344799_491819091016685_4128647297842298405_n.jpg

13325455_492092504322677_1327975153186974062_n.jpg

13237636_486141018251159_3478316789355641139_n.jpg

13412898_492664070932187_9077618910519404662_n.jpg

13119003_478569229008338_8417319656200682223_n.jpg

13096356_478569255675002_6428030659442855290_n.jpg

please visit and like my Facebook and follow my instagram account to see more of my creations, see you there! 🙂